How to create a new blocking policy
In addition to the pre-configured and default policies which are automatically installed, you can add more policies to refine your setup. The following steps guide you through the steps required to create a new policy that blocks social networks and other leisure browsing to most users during office hours, but allows it for top management, marketing and specific users.
Using the block action to create policies that stop undesirable traffic
To create a new policy:
- Go to Manage > Policies.
- Click Add Policy.
- In the Policy Name field, enter Block social networks and leisure browsing.
- In Policy Description, enter a description.
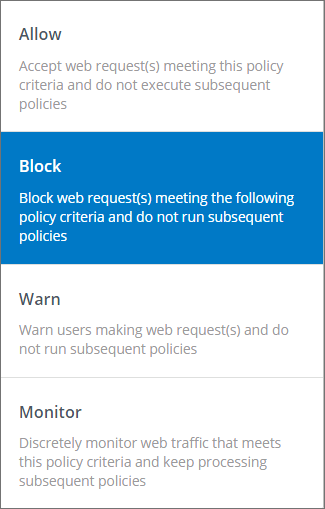
- In the Block, Warn, Allow, Monitor element, select Block.
- From the left sidebar, add the Websites element to block categories such as Auctions, Dating, Entertainment / Venues / Activities, Fashion and Beauty, Games, Travel & Tourism, Web based chat, Music, Recreation and Hobbies, Shopping / Retail, Social Network in general and any other categories which could cause productivity issues in your company. Remember also to block any Security and Legal Liability categories.
- This policy blocks all users. To exclude specific users add the Users, Groups, IPs element to the policy. Use the Exceptions element to configure any exclusions.
- Add the Schedule element and define the policy to be active Monday to Friday, during working hours (for example 08:00 to 12:00, and 13:00 to 17:00). This means the policy will not apply during lunch break hours and after office hours.
- Click Save.