Recipient Verification
The Recipient Verification check in the SecurityA service provided by GFI OneConnect that protects your inbound email from viruses, filters out spam and provides mail monitoring features. service prevents directory harvesting attacks.
Directory harvesting attacks occur when spammers try to guess email addresses by attaching well-known usernames to your domain. The majority of the email addresses are non-existent. Spammers send emails to randomly generated email addresses and while some email addresses may match real users, the majority of these messages are invalid.
Directory harvesting attacks can affect negatively the performance of the mail server during such attacks. It can also increase the volume of spam sent to the server if it finds legitimate email address to be used in future scamming campaigns.
Recipient Verification can stop these attacks by blocking emails addressed to users not in the email server or in the GFI OneConnect user list.
To enable Recipient Verification in GFI OneConnect:
- Login to GFI OneConnect with an administrator account.
- From the top-right menu, navigate to Settings > Domains.
- Click
 from the right-top corner of the domain box.
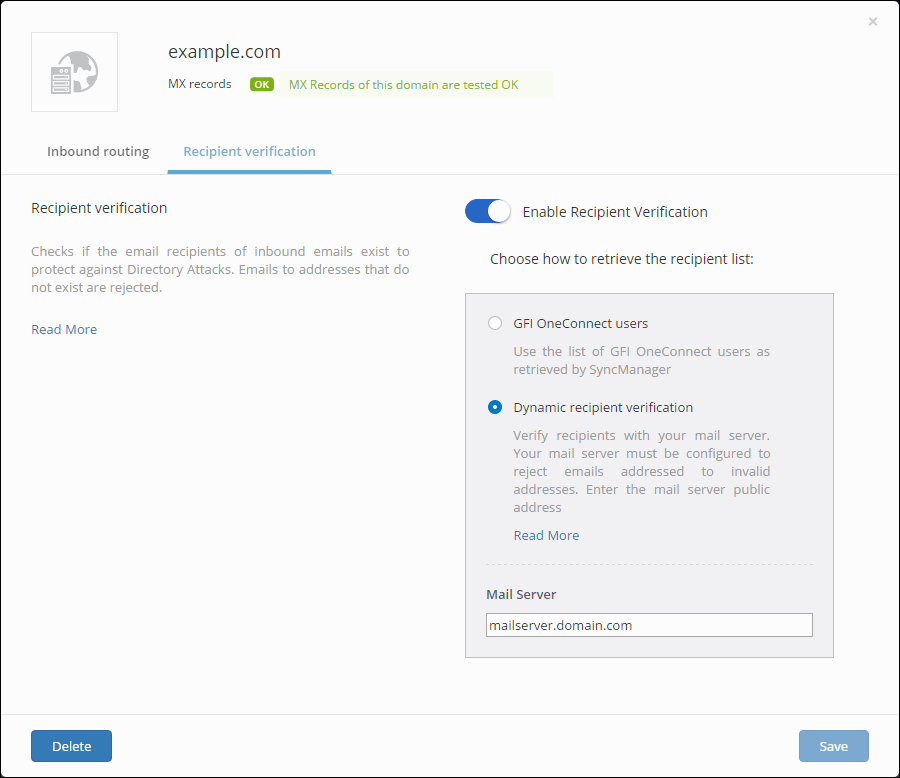
Recipient Verification settings
- Go to the Recipient Verification tab.
- Switch Recipient Verification on or off from the Enable Recipient Verification option.
- If enabled, choose how to retrieve the list of recipients:
| Option | Description |
|---|---|
| GFI OneConnect users |
Use the list of GFI OneConnect users as retrieved by SyncManager. Use this option only in case that your mail server does not have the recipient verification option enabled. Ensure that new users are retrieved immediately by the GFI OneConnect SyncManager. Failure to do so may cause emails to be deleted before being processed by the mail server. For more information refer to Setting up the SyncManager. |
|
Dynamic recipient verification (recommended) |
Verify recipients with your mail server. This option requires that your mail server supports recipient verification. For more information refer to Enabling Recipient Verification in Microsoft Exchange. Under MailServer enter the public FQDN or the public IP address of the mail server. NOTE If using Microsoft Exchange 2013 or 2016 add port 2525 at the end of the mail server entry. For example mailserver.domain.com:2525 |
- Click Save.