Editing reports
All existing reports can be edited to change configured settings.
Edit reports to customize parameters.
To edit a report:
- Go to Reports.
- From the left sidebar select a report category.
- Click the report tile to edit and click the Edit icon
 within the tile.
| Option | Description |
|---|---|
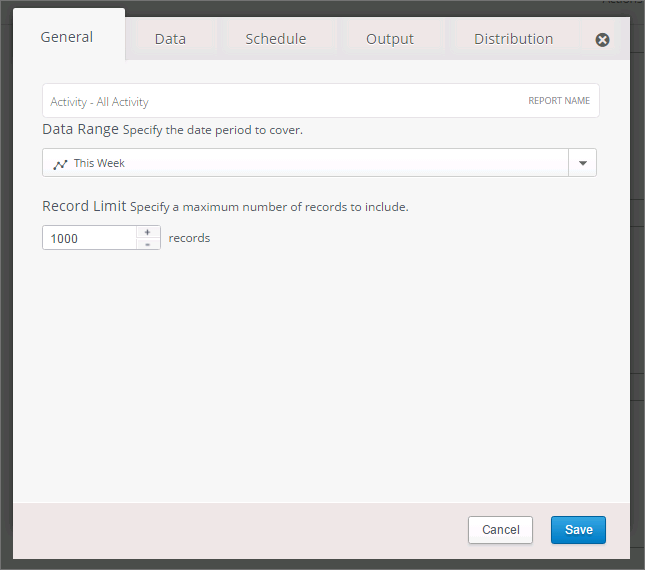
| General |
|
| Data |
Select the filters that will be applied to the report. For each filter specify the elements to include or exclude:
|
| Schedule |
NOTE If the schedule is disabled, report is not automatically generated.
|
| Output | Select the report output format and specify a location to save the report. |
| Distribution | [Optional] Add a recipient email address to send the document by email. |
- Click Save.
- To run the report, click Generate.
See also: