Custom Installation of Import Manager
During installation you can select the Custom mode instead of the Complete mode. This option installs only the selected components. Custom mode allows users to choose which program features to install and where to install them. It is recommended for advanced users.
Doing a custom installation also allows you to select a different install directory for Import Manager components. Typically you would only need to do this if you have a large amount of import data and at least one additional physical disk to place the compression directory on for system performance purposes.
- Download the installer from the GFI OneConnect administration console. For more information refer to Downloads page.
- Right-click the GFI OneConnect installer and choose Properties. From the General tab, click Unblock and then Apply. This step is required to prevent the operating system from blocking certain actions by the installer.
- Launch the installation wizard.
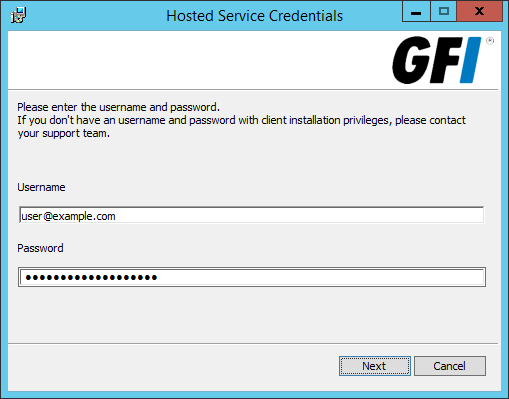
Credentials pages on the installation wizard
- In the Username and Password fields, enter your GFI Accounts area credentials or the account used when signing up to GFI OneConnect.
- Click Next in the welcome screen.
- If you agree with the License Agreement, select I accept the terms in the License Agreement and click Next.
- Select the Custom installation mode.
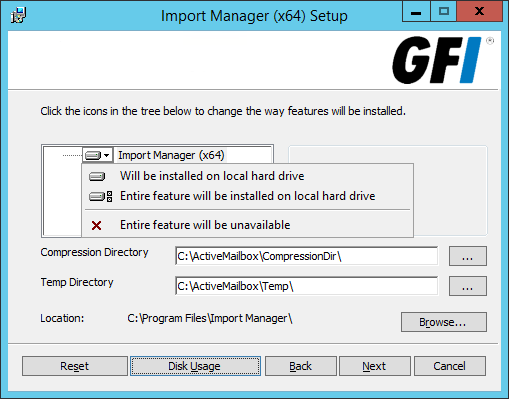
Custom install options
The following options are available:
| Option | Description |
|---|---|
| Compression Directory | Click ... to change the location of the Compression Directory. |
| Temp Directory | Click ... to change the location of the Temp Directory. |
| Location | Click Browse to install Import Manager in a different location. |
- Click Next.
- The Fully Qualified DomainAddress or URL of a particular network. Name and the Friendly Name are automatically populated. This information refers to the machine where you are installing Import Manager. Double-check that they are correct and click Next.
- Under the services credentials fill the Domain, Username and Password fields with the credentials of a domain admin account to run the service and click Next.
- Click Install to start the installation process.
- Click Finish.