Submitting your first ticket
Requests to our support team are handled in the form of support tickets. This section walks you through the process of submitting a support ticket.
To create your first ticket:
- Go to the front page of the support site and make sure you are logged in.
- Click the Submit a Ticket button.
- From here, you may fill in the details for your support request. We will go through each one step-by-step.
- First, select a department to submit your ticket to. This tells our support team what your request is related to.
- Click the Next button.
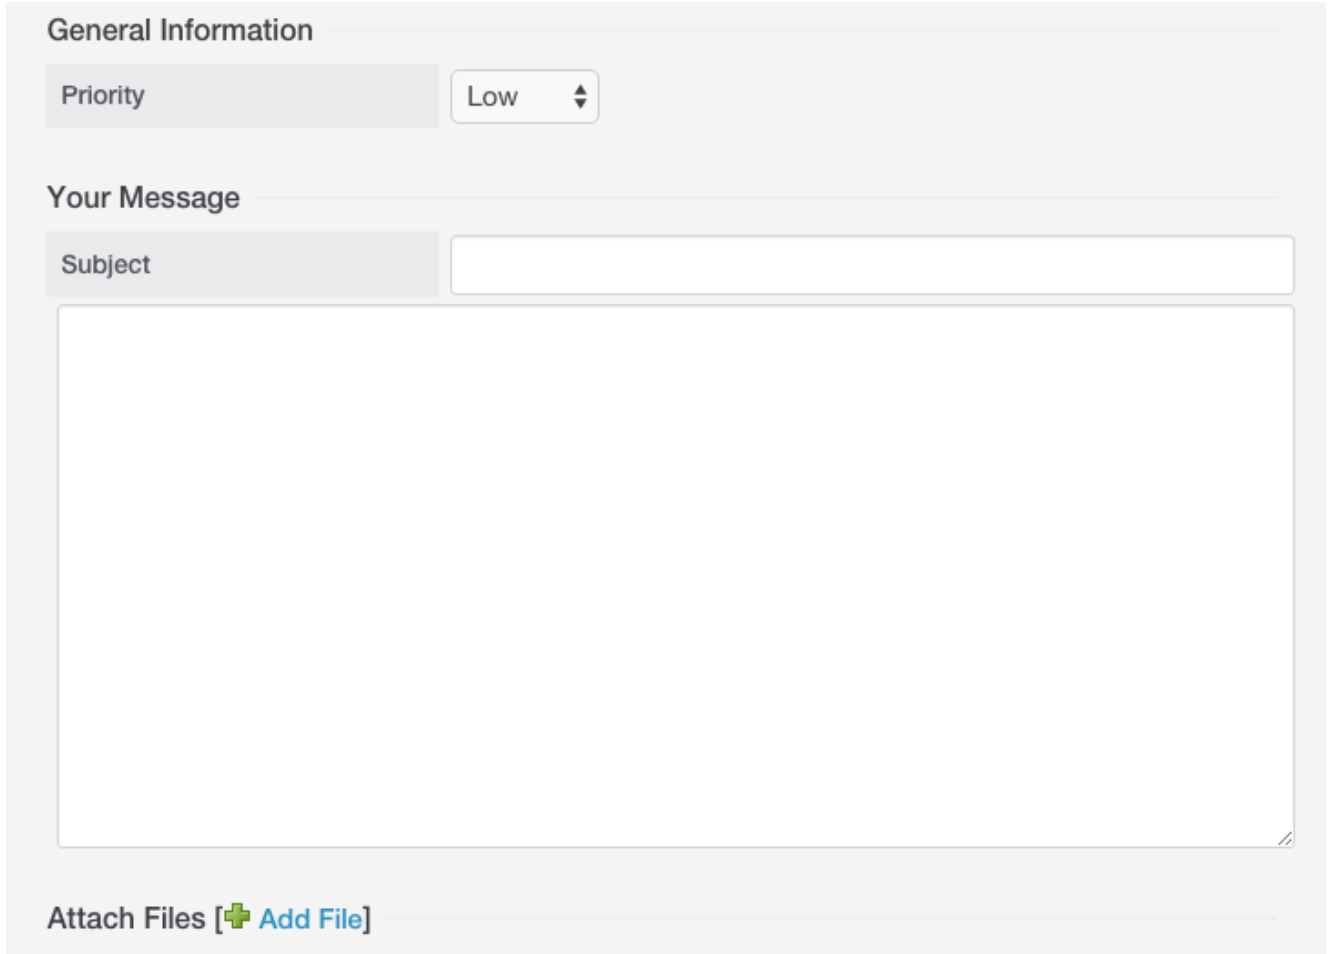
- On this screen, describe the problem you are having. From the Priority pull-down, choose the option that best describes the problem you are facing. This is how we try to think about each priority level:
- Next, in the Subject field, give us a brief description of what is happening.
- Then, in the big text area, go into details. The more specific you can get about what you are experiencing, the better. Note:
Once you start typing in the description for your ticket, suggestions for knowledge base articles that might be relevant to your request appears.
- When you are done writing up your issue, you also have the option to attach a file (photo, screenshot, PDF, etc.) that helps illustrate your issue:
- Click the Add File link.
- Click the Choose File button.
- Select the file you want to attach and click the Open button.
- Review the details of your ticket and click the Submit button at the bottom of the screen to send your request to our support team.
General information
Note:
You can also click the Submit a Ticket link on the top navigation menu.
Once your request has gone through, you can see a confirmation screen. This means we have received your issue and someone on our team will be in touch as soon as possible.