Creating and managing departments
Many GFI HelpDesk users create a dedicated departments for each of their staff teams. You can add as many new departments as you need, and update them as your organizational needs shift.
Below, is a step-by-step process for creating a new department.
To create or edit departments, you need an administrator account with the 'Departments' permission.
To create a new department in GFI HelpDesk:
- Sign in to the admin control panel.
- Click on Departments option in the top navigation bar.
- Click on Insert Department.
- Enter a Department name first. Note:
You can skip the Parent department, unless you have a huge collection of departments and want to nest them.
- Enter a value for Display order to set the order of display in the list of departments. The smaller the number, the higher it appears in lists.
- Choose a Type for the department. 'Public' means customers can see and select it when submitting a request. 'Private' means only your team can see and select it.
- And finally, from Channel, select whether it is a department for Live Chats or Tickets.
- Before we save your department, we're going to choose which staff members has access to the department from their staff control panel.
- Switch to the Staff Assignments tab.
- From the Staff Team Assignments section, click Yes corresponding to any team you want to assign to a department.
- From the Individual Staff Assignments section, click Yes corresponding to any additional staff members you want to assign.
- If you want a particular set of users to be able to select the department when submitting a ticket from the support center, you can find such options on the Permissions: Users tab.
- If you offer support in multiple languages and want to add translations for the department name, you can do that from the Languages: Translation tab.
- When you have your department fully configured, click Insert to save your department and start using it in your helpdesk.
- Once a department is created, you can come back and edit any of the settings above by clicking the Manage Departments link in the toolbar.

Insert department navigation
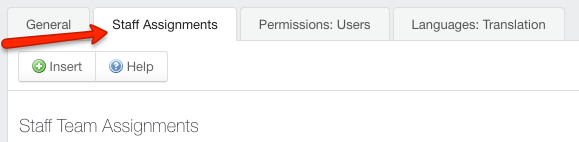
Staff assignment tab

Manage departments navigation
You are now ready to keep your queue organized with different departments for different types of support requests.