Inserting a new custom group and field
You can use custom Fields to serve a lot of different purposes. Consider a common example – adding Fields to the ticket submission form to capture the user's product type and serial number.
You need an administrator account with the Custom field Groups and Custom Fields permissions to execute the following instructions:
- Log in to the admin control panel and click Custom Fields > Groups in the sidebar.
- Click the New button.
- Add a Title for your new Group, such as Product Details.
- From the Custom field Group location dropdown, select Staff and end user ticket creation.
- Set Group Visibility to Public. (Since you want customers to be able to use these Fields)
- If you have multiple Groups in the same location, you can use Display order to control the order in which they appear.
- Next click the Insert button to create your Group.
- Now we are ready for the Fields themselves. Click Fields in the sidebar.
- Click New .
- We'll start with our Product field. Select drop-down select (so that users are limited to the list of products we define).
- Click the Next button.
- From Custom field Group, select the Product Details Group to add it to the Field Group we just created.
- Add a descriptive name in Field Title in this case Product.
- In Field description, provide a description text that appears below the field.
- In the Field Options list, enter the options your users can choose from.
- If you need more than the default eight spots, click the Insert button above the list.
- Switch to the Options tab, up top.
- Set Required field to Yes, to make the new Field mandatory.
- And for Field editable by end users, select Yes, to let our customers make changes.
- Click Insert to save the new Field.
- Next, add a Serial Number field. Click New.
- From Custom field Group, select the Product Details Group.
- Select Text for the Field type, and click Next.
- In Field title select Serial Number.
- Add a quick bit of help text to the Field description.
- Switch to the Options tab.
- Leave this field as optional, but make sure that Field editable by end users is set to Yes.
- Click Insert to save the field.
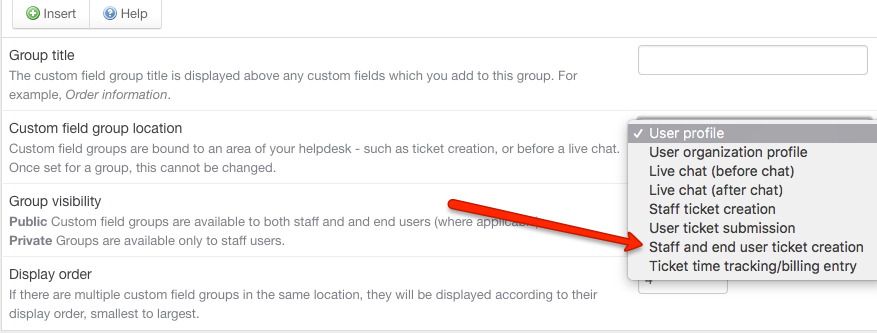
select Staff and end user ticket creation
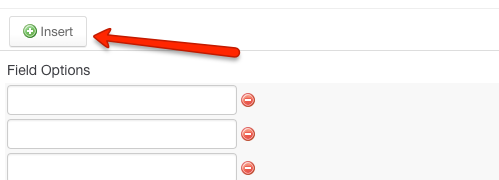
Click insert
Your users now see the Product Details section on the submission form whenever they go to create a new ticket from your support center.
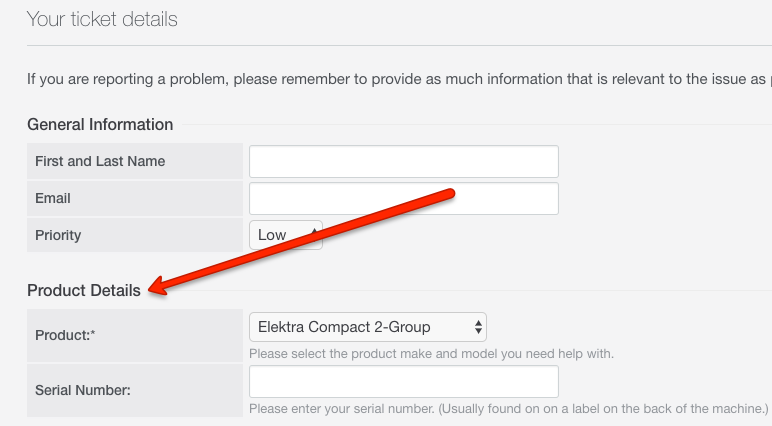
Users see product details section