Managing Synchronization Folders
To manage existing Synchronization Folders, right-click the File Archive Assistant icon in the system tray to open the settings dialog.
In the File Archive Assistant Settings page:
1. Click the Synchronization Folders tab.
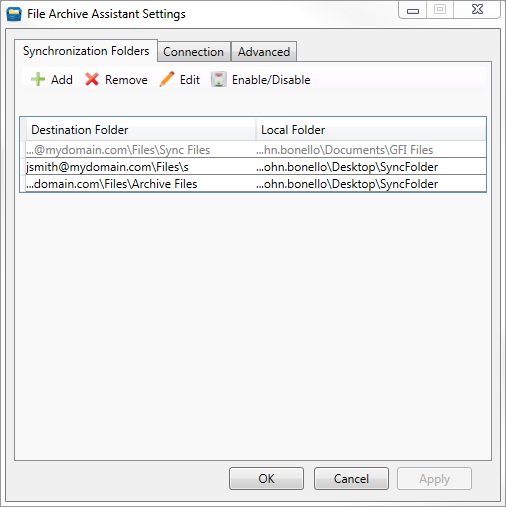
View and edit existing synchronization folders
2. Perform one of the following actions:
| Option | Description |
|---|---|
| Add Sync Folder | Click to add a new synchronized folder and follow the wizard to create new synchronized folders. For more information refer to Adding a Synchronization Folder. |
| Remove | Select an existing synchronized folder from the available list and click to remove the folder from the list. |
| Edit | Select an existing synchronized folder from the available list and click to edit properties. |
| Enable/Disable | Select an existing synchronized folder from the available list and click to enable or disable folder synchronization between File Archive Assistant and GFI Archiver. |
See also:
Adding a Synchronization Folder
Configuring the File Archive Assistant
Downloading the File Archive Assistant