Agent properties
To modify agent properties:
1. Click Configuration tab > Agents Management.
2. From the right pane, right–click an agent and select Properties.
NOTE
The Properties dialog can also be accessed from the computer tree within the DashboardA graphical representation that indicates the status of various operations that might be currently active, or that are scheduled.. Right-click a computer or a group and select Properties.

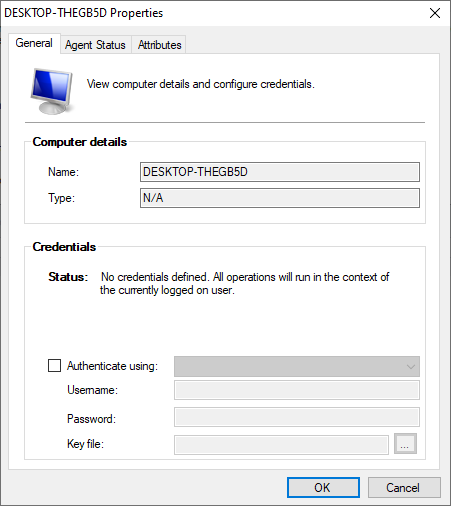
Agent Properties - General tab
3.(Optional) From General tab, specify the name, type and authentication method for the selected agent.

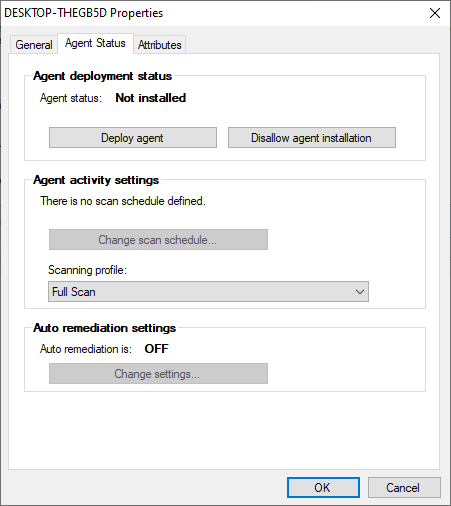
Agent Properties - Agent Status tab
4. From Agent Status tab, enable/disable agent deployment by clicking Deploy agent or Disallow agent installation.
5. Click Change scan schedule… to configure the selected agent's scan schedule.
6. From Scanning profile drop-down menu, select the active scan profile.
7. From Auto remediation settings, click Change settings… to enable/disable agent auto–remediation. For more information refer to Configuring auto-remediation options.

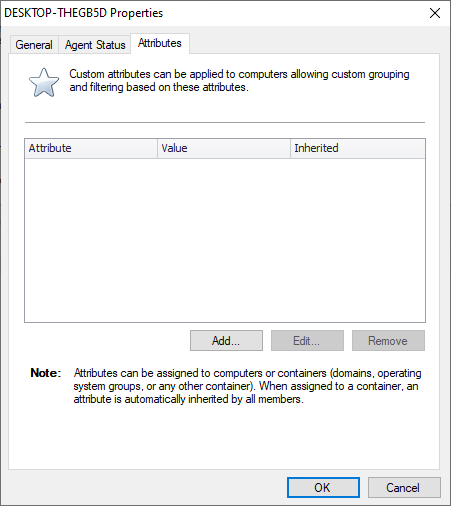
Agent Properties - Attributes tab
8. Click Attributes tab to manage the attributes assigned to the selected computer. Use the Add, Edit and Remove buttons to manage attributes.

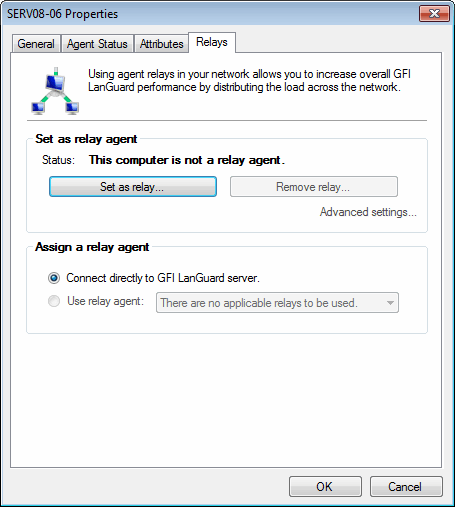
Agent Properties - Relays tab
9. Click Relays tab to configure agent relays. Relays enable computers other than the one hosting GFI LanGuard to act as GFI LanGuard server. This helps you load-balance traffic directed to that machine and optimize network scanning performance.
10. Configure the options described below:
11. (Optional) Click Advanced Settings and configure the following options:
| Option | Description |
|---|---|
| Caching directory | All patches and updates are stored in this location before installation on the client computer. |
| Port where to serve | The port used by the relay agent to serve requests. |
| Address where to server | The address used by client computers to connect to the relay agent (By default the DNSA database used by TCP/IP networks that enables the translation of hostnames into IP numbers and to provide other domain related information. host name is used). |
12. Click OK twice.