User Whitelist & Blacklist
The User WhitelistA list of email addresses and domains from which emails are always received. and BlacklistA list of email addresses and domains from which emails are always blocked. features enable you to specify whether you want to always receive or always block emails received from particular email addresses and domains:
- User Blacklist - a custom list of email addresses and domains from which you never want to receive emails.
- User Whitelist - a custom list of email addresses and domains from which you always want to receive emails. Note however that GFI OneConnect Security still scans emails received from whitelisted senders for viruses and malwareAll malicious types of software that are designed to compromise computer security and which usually spread through malicious methods..
To access your User Whitelist & Blacklist filter rules:
- Log in to GFI OneConnect and click Security.
- Enter your credentials in the Security login page.
- Navigate to the Filter Rules tab.
- Select the list to access: User Whitelist or User Blacklist.
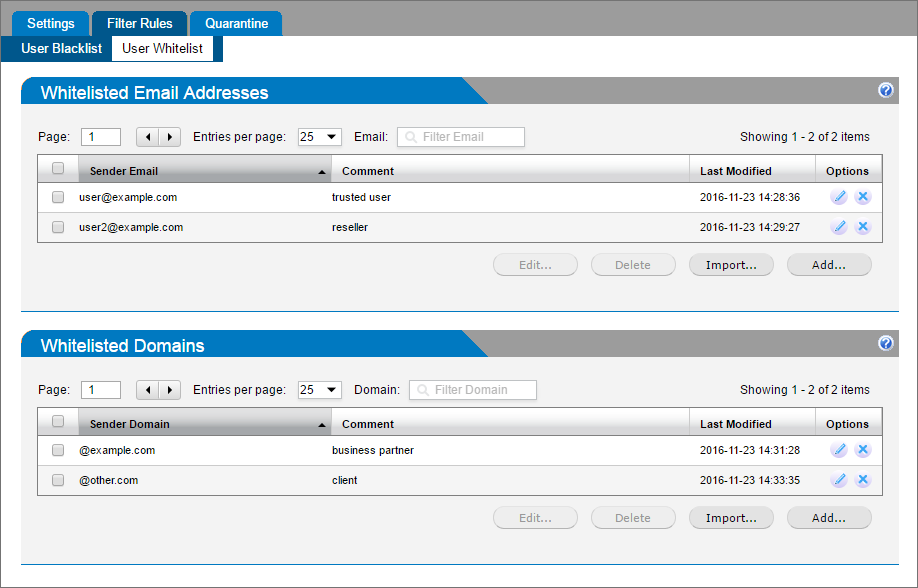
The User Whitelist screen
Adding entries manually
- Click Add in the Email Addresses or Domain sections.
- Key in the domain or email address to add:
- Email Address must be entered in the form user@example.com.
- Domain entries must be in the form example.com.
- (Optional) Add a comment. It may be helpful to remember why the item was added on that list.
- Click Save.
Importing a list
- Create a text file containing all the entries to whitelist or blacklist. Write one entry per line:
- Email addresses must be in the form user@example.com.
- Domain entries must be in the form @example.com.
- The text file may contain a mixed list of both email addresses and domains.
- Click Import... in the Email Addresses or Domain sections.
- Select the file to be imported and click Open.
Editing entries
- Select the entry to modify and click Edit....
- Make the changes and click Save.
Deleting entries
- Access the list you want to edit.
- Select the entry and click Delete.
NOTE
- A sender may not be added to both the Whitelist and the Blacklist at the same time.