Configuring missing updates auto-deployment
GFI LanGuard ships with a patch auto–deployment feature that enables you to deploy missing patches and service packs in all languages supported by Microsoft® products. GFI LanGuard also supports patching of third party (Non–Microsoft®) patches. For a complete list of supported third party applications refer to http://go.gfi.com/?pageid=3p_fullreport. Refer to the following section for information about:
- Enabling Patch Auto-Deployment
- Configuring Patch Auto-Deployment advanced options
- Configuring Patch Auto-download settings
Enabling Patch Auto-Deployment
To configure patch auto–deployment:
1. Click on Configuration tab > Software Updates > Patch Auto–Deployment.
2. In the right pane, select the method for approval.
Manual approval
Use the Manual approval tab to approve patches one by one. This is achieved by using the list of unapproved patches grouped by vendor or severity that you want to be approved.
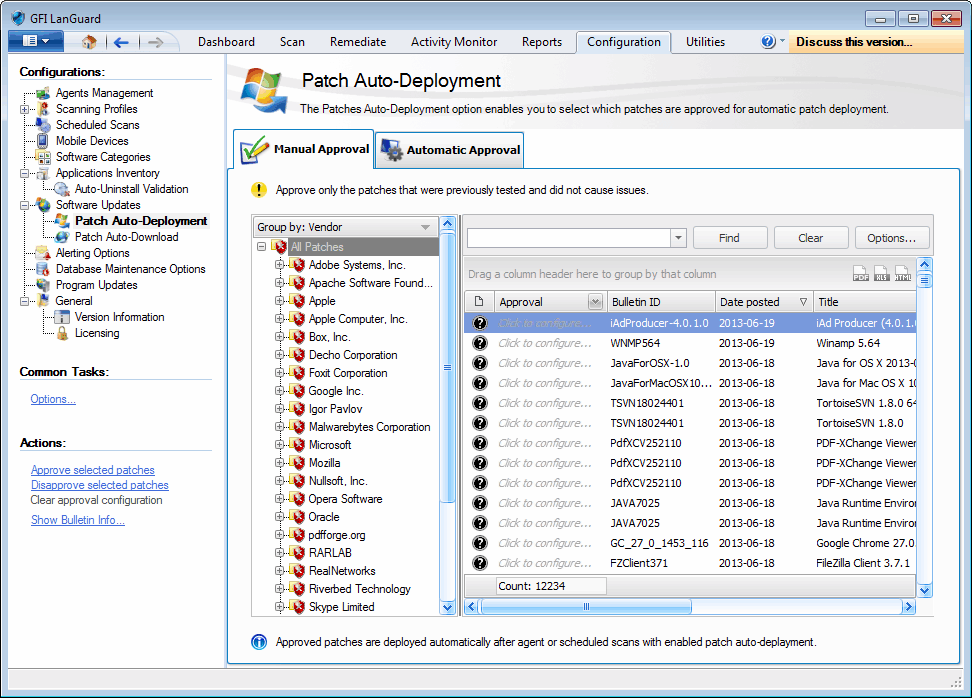
Patch auto–deployment: Manual approval
Automatic approval
The Automatic approval tab enables you to specify which group of patches are automatically approved according to a category for a particular vendor.
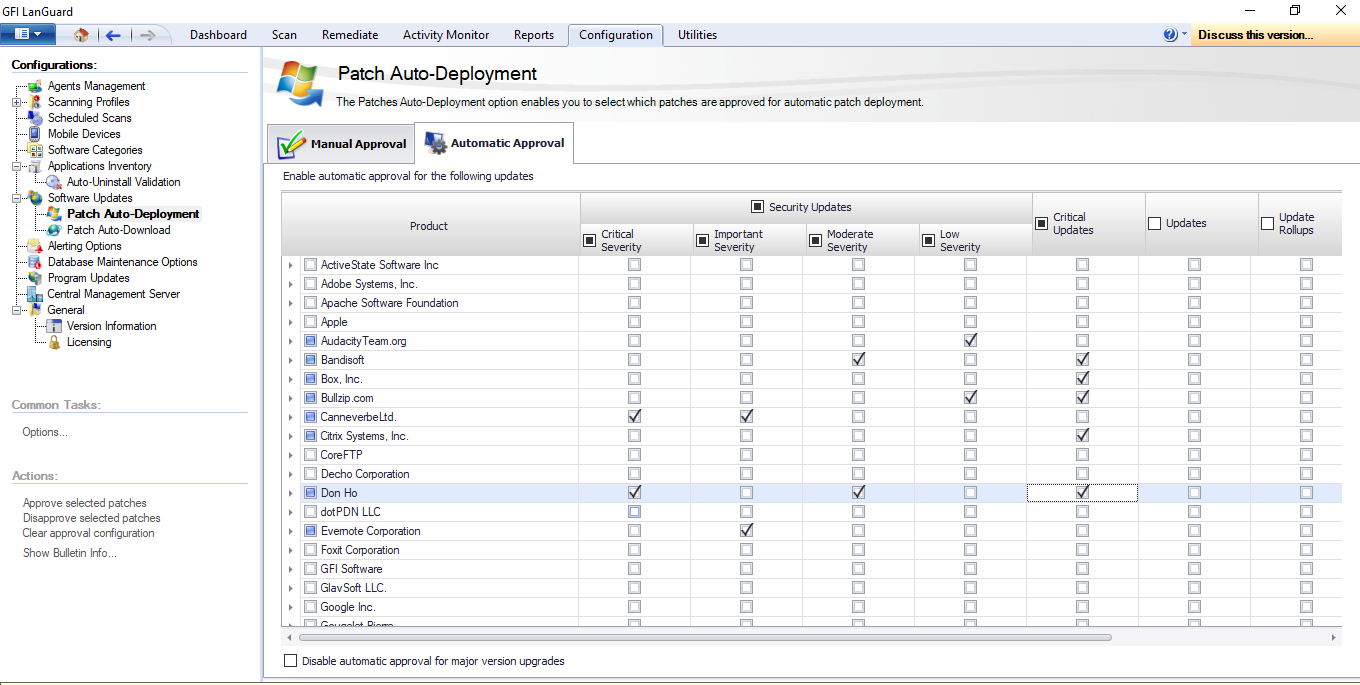
Patch auto–deployment: Automatic approval
Configuring Patch Auto-Deployment advanced options
To configure auto–remediation:
1. Click Configuration tab > Software Updates > Patch Auto–Deployment and from Common Tasks, click Advanced options.

Patch Auto–Deployment Advanced Options
2. Configure the following options:
| Option | Description |
|---|---|
| Send an email when new patches or service packs are available. | Send an email when new patches are identified. |
| Show all patches: |
Displays all the identified patches . |
| Show patches for products that were detected in the network: |
Displays only the patches identified on the selected network. |
3. Select the appropriate check boxes and click OK to save changes.
Configuring Patch Auto-download settings
GFI LanGuard ships with a patch auto–download feature that enables the automatic download of missing patches and service packs in all languages supported by Microsoft® products. In addition, you can also schedule patch auto–download by specifying the time-frame within which the download of patches is performed.
To configure patch auto–download:
1. Click Configuration tab > Software Updates > Patch Auto–Download.
2. From the right pane, click the link.

Configuring Patch Auto–download Properties
3. In the General tab, select between All patches or Only needed patches.
4. In the All patches tab click Configure to restrict auto-download of patches for configured languages.

Configuring Patch Auto–download - All Patches Properties
NOTE
Selecting All patches > Configure, enables administrators to manually select the Microsoft® patches to download , regardless of whether these are required for deployment. The Only needed patches option downloads only patches required for deployment.
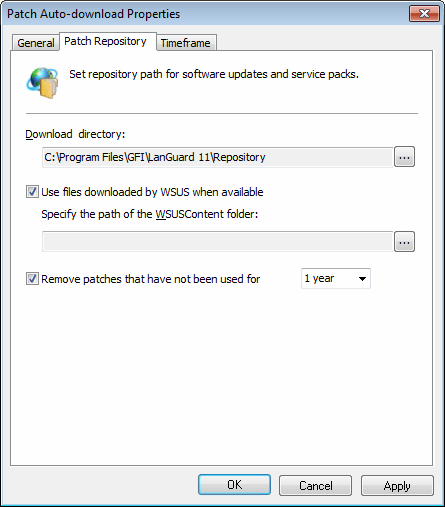
Patch Repository settings
4. To change the location where the downloaded patches are stored click the Patch Repository tab and specify the required details.
5. Select Use files downloaded by WSUS when available, if you are using an existing setup of WSUS.
6. Select Remove patches that have not been used for and select the time duration if you want to remove files that have not been used for remediation in the specified time interval.
7. To change the time frame during which patch downloads are performed, click Timeframe tab and specify the required details.
8. Click Apply and OK.