Creating an HTML response object
In particular circumstances, you may want to present a specific message to your network users through a webpage. Consider informing your network users that they have exceeded their usage quota. An HTML Response object can be created so that the Exinda appliance will host the webpage. This HTML Response object can then be used in an Optimizer policy to present the webpage.
To create an HTML Response object all you need is a name and the html for the webpage.
Creating a HTML Response object
Use the following instructions to create an HTML Response object.
- Go to Configuration > Objects > HTML Response.
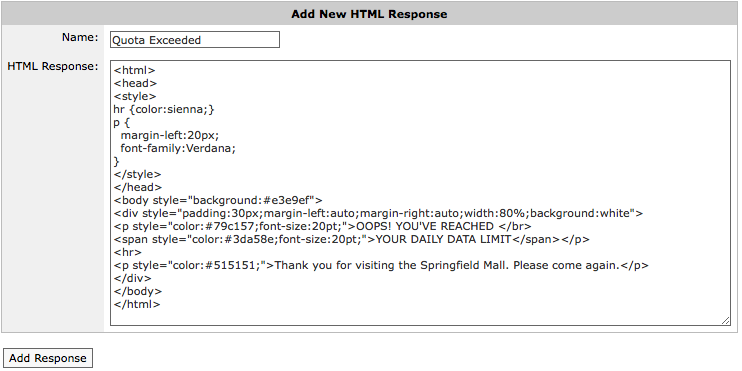
- In the Name field, type a suitable name for the HTML Response object.
- In the HTML Response text box, type the HTML code for the response.
TIP
Any HTML with embedded CSS or Javascript can be used.
- Click the Add Response button. The object is added to the list of configured HTML response objects. You can also preview the webpage by pressing the Preview button in the list of HTML Response objects.
The object is now ready to be used within a policy.
EXAMPLE
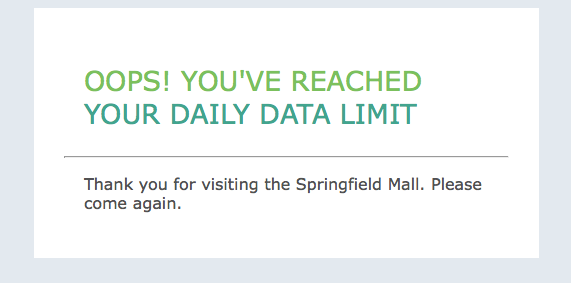
Create a webpage that states that the user has reached their daily data limit.
Enter the following as the HTML Response:
<html>
<head>
<style>
hr {color:sienna;}
p {margin-left:20px;font-family:Verdana;}
</style>
</head>
<body style="background:#e3e9ef">
<div style="padding:30px;margin-left:auto;margin-right:auto;width:80%;background:white">
<p style="color:#79c157;font-size:20pt;">OOPS! YOU'VE REACHED </br>
<span style="color:#3da58e;font-size:20pt;">YOUR DAILY DATA LIMIT</span></p>
<hr>
<p style="color:#515151;">Thank you for visiting the Springfield Mall. Please come again.</p>
</div>
</body>
</html>
If you click Preview, a new browser window opens displaying the message: