Step 2: Configuring Forwarding Rule in Microsoft Office 365
Follow the steps below to create a new BCC rule that forwards all email to the journaling user configured in Step 1:
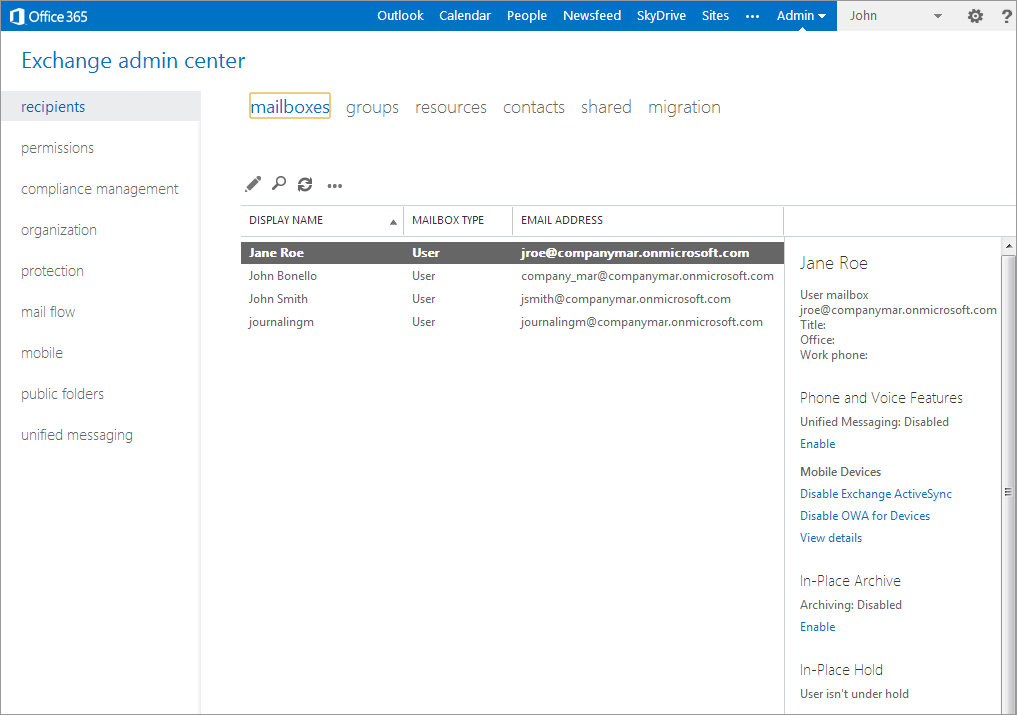
1. Log in to Microsoft 365 using the administrator account.
2. From the top menu select Admin > Exchange to open Exchange Admin Center.
Configuring Forwarding Rule in Microsoft Office 365
3. Select mail flow to create the Forwarding/BCC rule.
4. In the rules tab, select the + (New) and select create a new rule.
Creating a new Forwarding Rule
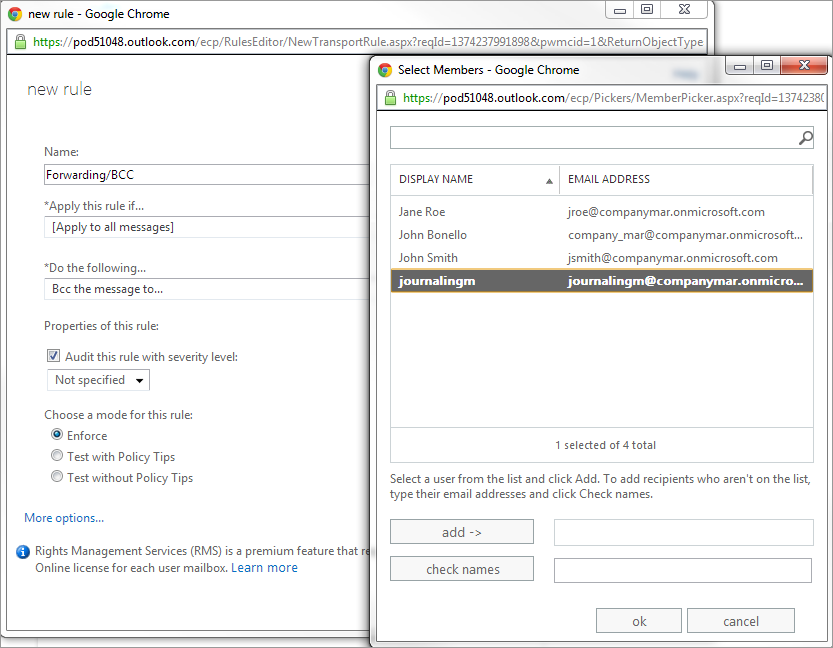
5. In the new rule screen, configure the following options:
| Option | Description |
|---|---|
| Name | Type in a rule name, for example, Forwarding/BCC. |
| *Apply this rule if... |
Select [Apply to all messages] from the drop down list. |
| *Do the following... |
Select Bcc the message to... and select the journaling mailbox from the list of users that pops up. IMPORTANT If using a third party mailbox, select the appropriate user from the list. |
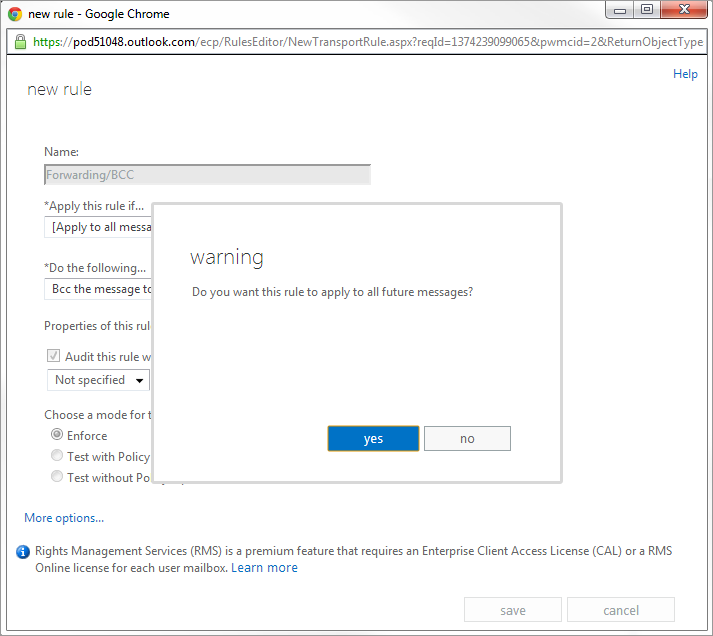
Apply the new rule to all future messages
6. When prompted with the warning: Do you want to apply this rule to all future messages?, click yes.
7. Click save.
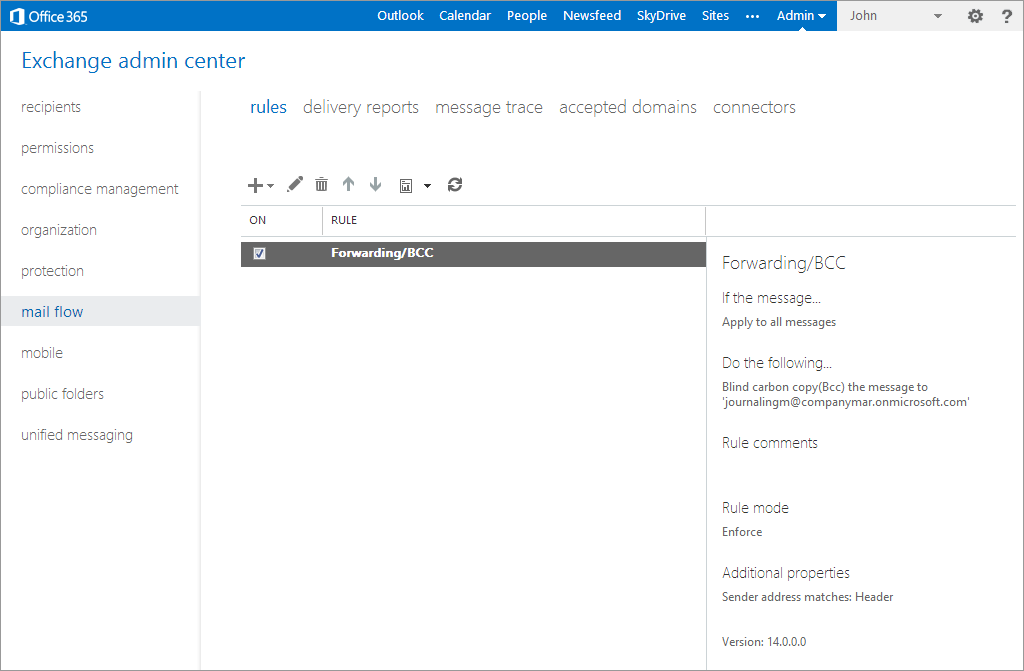
Verify configured Forwarding/BCC rule details
8. View and verify the configured Forwarding/BCC rule.
See also:
Setting up a Microsoft Office 365 Journaling Mailbox.