Configuring appliance settings in SDP
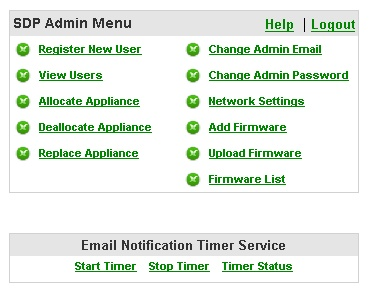
The SDP admin menu allows you to configure your SDP appliance settings. To access the SDP admin menu go to https://<ip-address>/admin and log in. The default username and password is admin.
You can now view the admin menu. You have the option to add/view users and allocate appliances to them. You can also change the default password and the admin email address, upload a new firmware for later installation and replace appliance in case of hardware replacement.
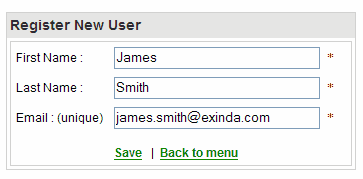
- Click Register New User.
- Fill in all fields.
- Click Save.
- An email notification with account details will be sent to the new user.
NOTE
Multiple entries of the same user is not allowed.
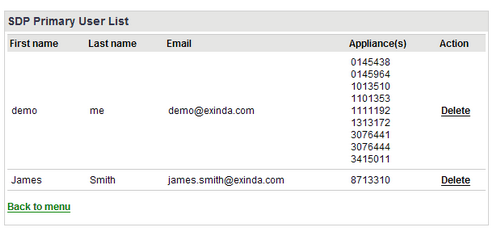
- Click View Users. The users table shows all registered users and the appliances that have been allocated to them.
- You can delete a user by clicking Delete.
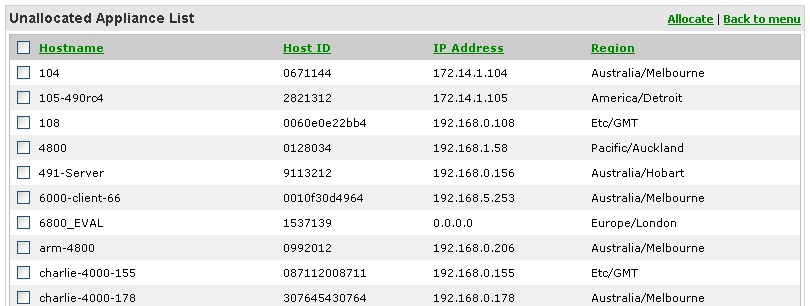
- Click Allocate Appliance.
- Select the appliance you would like to allocate to a user.
- Click Allocate.
- Select a user from the drop down menu.
- Click Confirm.
NOTE
You cannot allocate an appliance to multiple users.

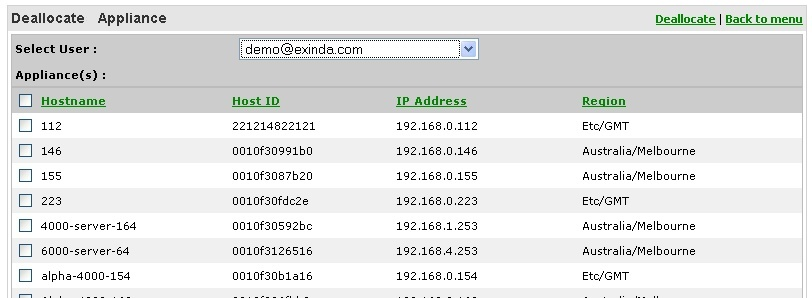
- Click Deallocate Appliance.
- Select a registered user from the drop down menu.
- Select the appliance(s) you would like to remove from the user's account.
- Click Deallocate.
- Click Change Admin Email.
- Enter the new email address.
- Click Save.
- An email notification will be sent to the new address.
NOTE
Default admin email address is sdp@exinda.com.
- Click Change Admin Password.
- Enter your current password.
- Enter your new password.
- Confirm your new password.
- Click Save.
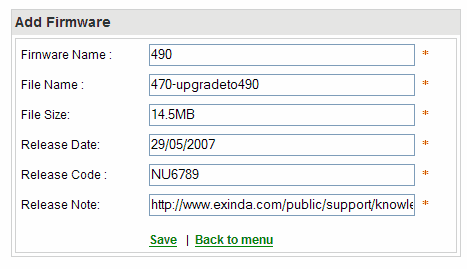
- Click Add Firmware.
- Enter the new Firmware name.
- Enter the File name, size and release date for the new firmware version. This information can be found on the support section of the Exinda Website.
- Enter the release code. Please email on sdp@exinda.com to obtain the release code.
- Enter a link to the release notes of the new firmware. The release notes can be found on the support section of the Exinda Website.
- Click Save.
- Click Upload Firmware.
- Click Browse and select the firmware file form your local drive.
- Click Save to start the upload progress.
- Once the upload is completed navigate back to main menu and select the Firmware list to view the available added or uploaded firmware versions.
NOTE
The SDP server will use its local IPInternet protocol address when generating the firmware URL. To assign an external IP address and this alter the firmware URLs navigate to Network Settings, enter the new IP and click Save. The firmware links will be automatically updated.
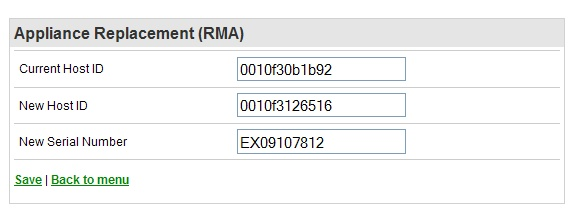
- You can use this option in case of a hardware failure, where an existing appliance will be replaced by a new one. By following this process all the SDP information of the old unit will be transferred to the new one. To start click on Replace Appliance.
- Enter the Host ID of the old appliance and the Host ID and serial number of the new one.
- Click Save.
- Then follow the Allocate an appliance steps to add the new appliance to a user account. The allocate process should NOT be performed prior to the replace hardware process.
