Managing user accounts
GFI EventsManager allows you to create a custom list of users which you can organize into groups to speed up administrative tasks.
This section contains information about:
Creating a new user account
To create a new user:
1. From Configuration tab > Options, expand the Users and Groups node.

Creating a new user
2. Right-click Users sub-node and select Create user…
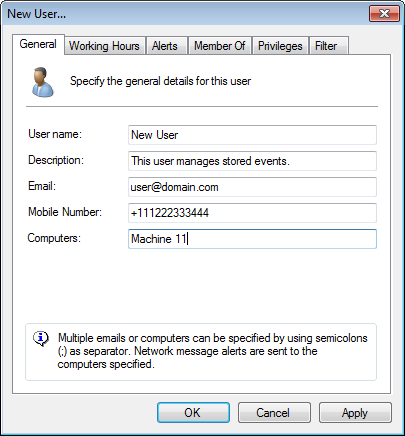
Creating a new user - General properties
3. From the General tab specify:
- A username for the user account
- (Optional) A description for the account
- A valid email address for email alerts distribution
- A valid mobile number for SMS alerts distribution
- Valid computer names/IPs for network alerts distribution.
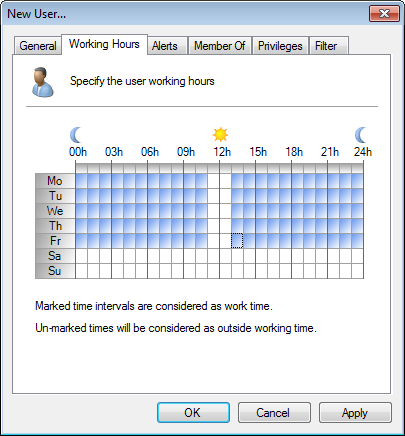
Creating a new user - Working hours
4. Click Working Hours tab and specify the typical working hours of the new user. Marked time intervals are considered as working hours.
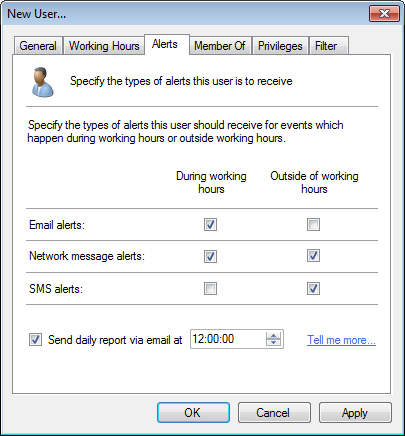
Creating a new user - Alerting options
5. Click AlertsNotifications which inform recipients that a particular event has occurred. GFI EventsManager can generate Email alerts, SMS alerts and Network alerts. tab and select the alerts sent during and outside working hours. Optionally, select Send daily report via email at and specify the time to send an email containing daily activity. For more information refer to How to configure alerts.
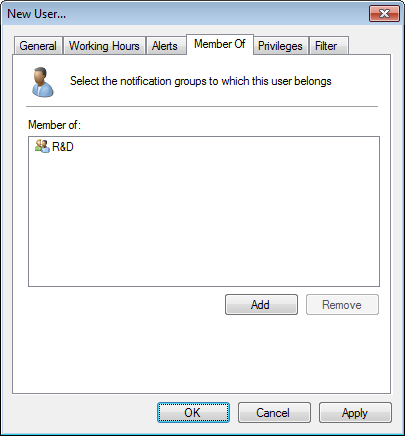
Creating a new user - Select notification group(s)
6. Click Member Of tab and click Add. Select the notification groups to which the user belongs and click OK.
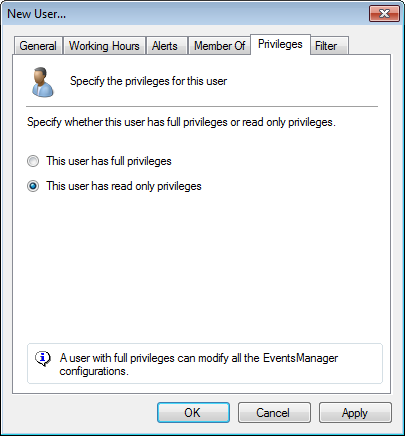
Creating a new user - Privileges
7. Click Privileges tab to configure user privileges. By default, new user accounts have read only privileges.
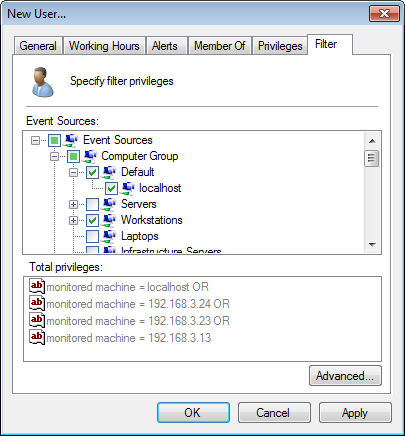
User filtering options
8. Click Filter tab to configure what the new user is allowed to display in the management console. The following table describes the available options:
| Option | Description |
|---|---|
| Event Sources | GFI EventsManager provides you with a set of pre-configured conditions for filtering event sources. Select the event sources that you want to be visible for this user. |
| Total privileges |
Click Advanced... to launch the Advanced Filtering dialog. This dialog enables you to build your own conditions for granular filtering, allowing you to filter events containing specific attributes. To add a condition: 1. From the Advanced Filtering dialog, click Add and select a field from the list. Example: Date, Importance, Log format. 2. For the selected field, select an operator from the Field operator drop-down menu. Example: Equal to, Less than, Greater than. 3. Specify a value for the operator in the Field value text box. 4. Click OK. 5. Repeat steps 1 to 4 to add more than one field name. Note For more information refer to Defining query restrictions. |
9. Click Apply and OK.
Changing user account properties
To edit user properties:
1. From Configuration tab > Options, expand the Users and Groups node.
2. From Users sub-node, right-click a user and select Properties.
3. Make the required changes in the tabs available and click OK.
Deleting a user account
To delete a user:
1. From Configuration tab > Options, expand the Users and Groups node and select Users.
2. From right pane, right-click a user and select Delete.