Installing GFI EventsManager
To install GFI EventsManager:
- Right-click the GFI EventsManager installer and choose Properties. From the General tab, click Unblock and then Apply. This step is required to prevent the operating system from blocking certain actions by the installer.
- Launch the installer.
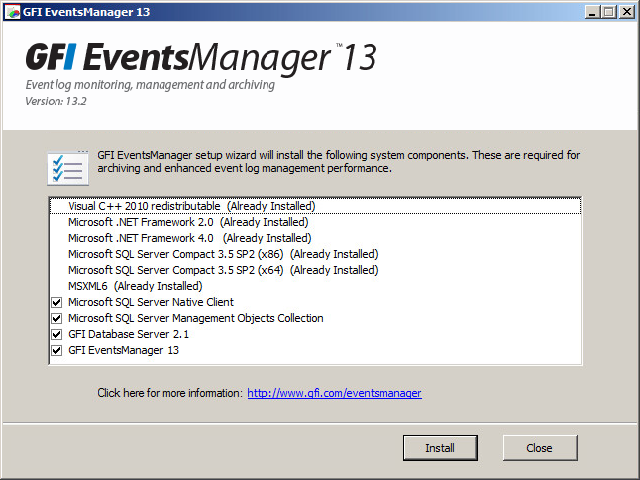
Prerequisite check
- The installer displays a list of system components that must be installed prior to installing the product. Click Install to start the installation of missing system components (if necessary).
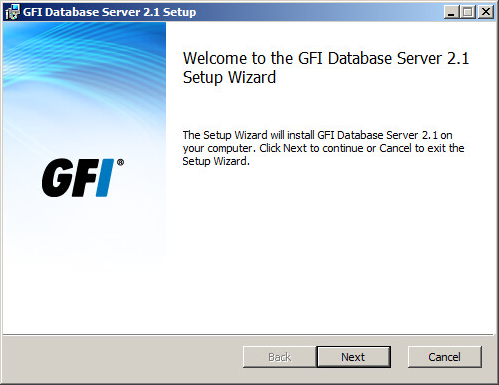
- The DLib Database Server install wizards opens automatically after system components are installed. Click Next at the wizard welcome screen.
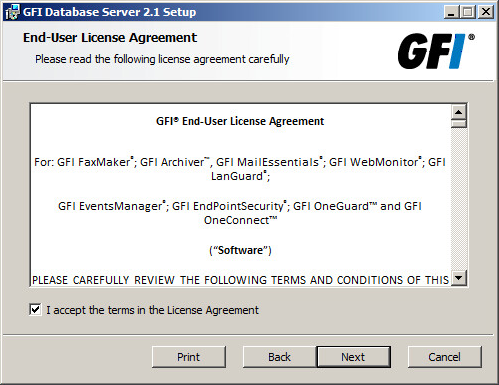
DLib Database Server EULA
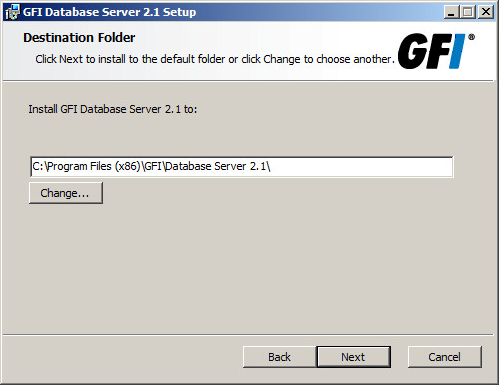
DLib install folder
- Click Next to install the database server in the default folder or click Change... to select an alternate folder where it is installed.
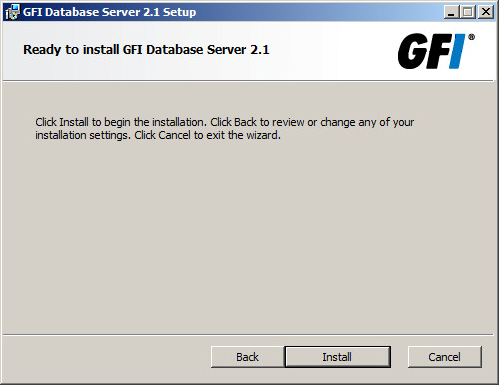
Start installing DLib Database Server
- Click Install to start installing DLib Database Server. Click Finish when prompted.
Note
After the database server is installed, the installer automatically opens the install wizard of GFI EventsManager Management Console.
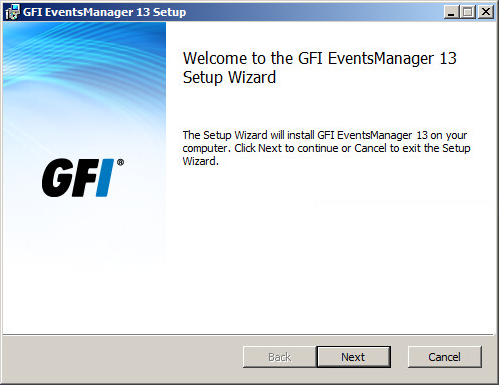
GFI EventsManager setup wizard welcome screen
- Click Next at the wizard welcome screen.
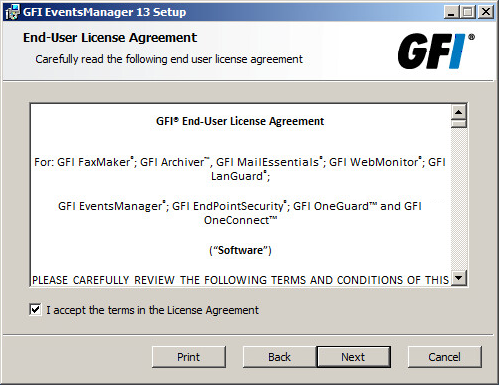
GFI EventsManager EULA
- Carefully read the license agreement. Select I accept the terms in the License Agreement and click Next.
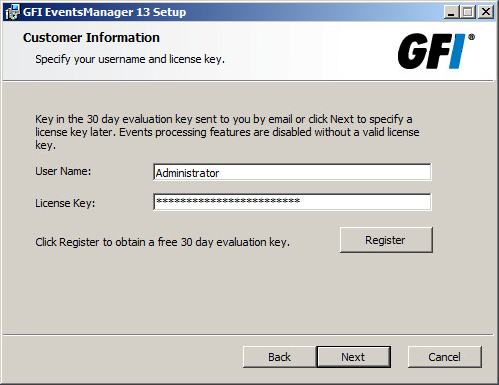
GFI EventsManager registration details
- Key in your user name and license key in the User Name and License Key fields. To register for a free 30 day evaluation license key, click Register. Click Next.
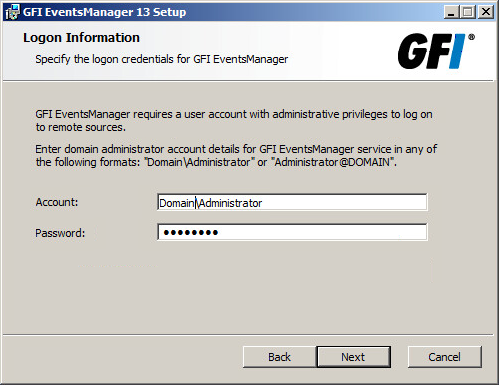
Remote logon credentials for event log monitoring
- Key in the logon credentials that GFI EventsManager uses to log onto remote computers.
NOTE
It is recommended to use a domain administrator or an account with administrative rights over all the remote computers managed by GFI EventsManager.
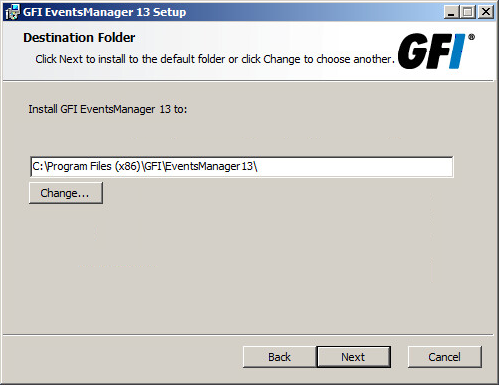
GFI EventsManager install folder
- Click Next to install the Management Console in the default folder or click Change... to select an alternate folder where it is installed.
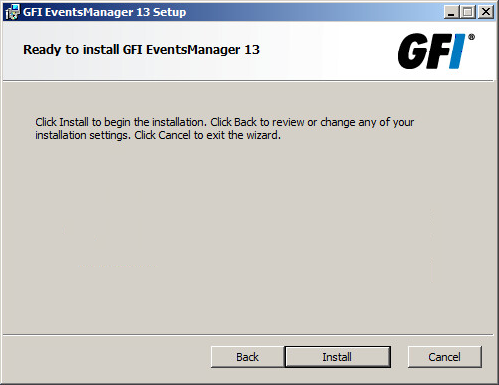
GFI EventsManager installation completed
- Click Install to start the installation.
- When the installation is complete, click Finish.
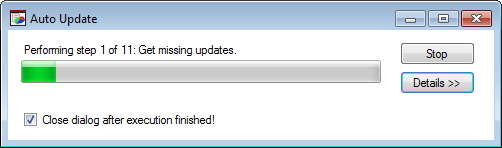
Auto updates check
- If GFI EventsManager detects an Internet connection, it automatically attempts to download product updates from GFI updates servers. Click Details to expand the information section of the Auto Update dialog and view the updates that are being downloaded.
NOTE
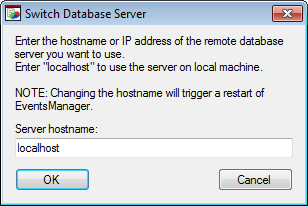
After product updates are applied, the Switch Database Server dialog opens. This dialog is used to link the management console to a database server. You can switch database servers from the Management Console. For more information refer to Switching between file storage databases.
- Specify the computer that has D-Lib Database Server installed on it. If the database you want to use is on:
- A remote computer - key in the computer name or IP address
- The localhost - key in localhost (default).
Click OK.
NOTE
Once the installation is complete, the Management Console opens automatically. To launch it manually, click Start > All Programs > GFI EventsManager > Management Console.
NOTE
Test the installation to ensure that all the components were successfully installed. For more information refer to Testing the installation.