Configuring domains in the Kerio Cloud accounts created prior to May 10, 2016
NOTE
For accounts created prior to May 10, 2016.
After you create an account for Kerio Cloud, you can manage your domains in the Email section.
- Login to Kerio Cloud at http://cloud.kerio.com/
- Select your domain in the Emails drop-down list.
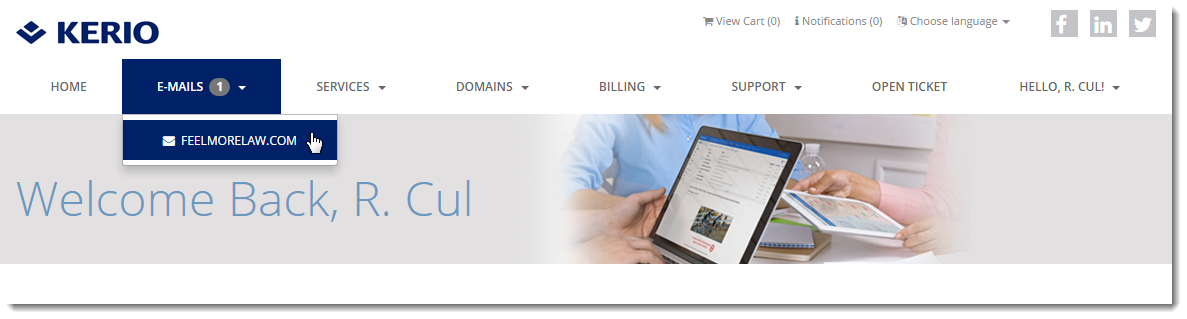
- Configure your domain.
See the following sections for detailed configuration of your domain:
- Adding users to domains
- Creating username/email aliases
- Adding mailing lists
- Adding user groups
- Adding resources
- Creating domain aliases
- Enabling DKIM authentication
Adding users to domains
- Switch to your domain (see above).
- Go to the Email Accounts section.
- Click + Add.

- Type the username, password, full name and description for the user, and click Next.
- (Optional) You can also:
- Assign the user public folder admin access
- Publish their contact info in the global address list
- Allow the user to change their password
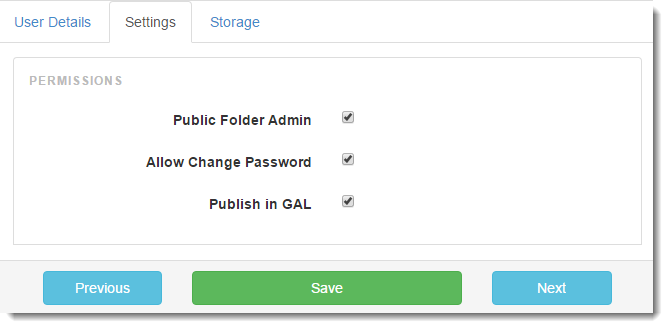
- Click Next.
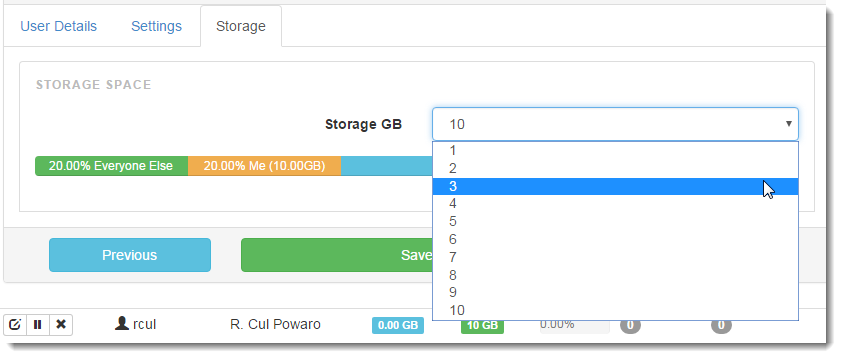
- Based on your plan, you can set the storage space in GB the user can occupy.
- Click Save.
NOTE
If you use up your license (number of users) and you want to add additional users, click Upgrade Account in your domain settings, type the new number of users you want to have in your domain, and click Upgrade.

Creating username aliases
- Switch to your domain (see above).
- Go to the Email Aliases section.
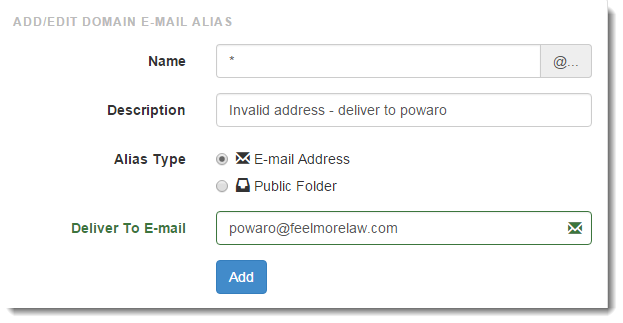
- Type a name for the alias. The alias may contain the following characters:
- Lower-case letters (no special characters)
- Upper-case letters (no special characters)
- Numbers
.— Dot-— Dash_— Underscore?— Question mark*— Asterisk
- The message can be delivered to:
- Email address — Type the email address
- Public folderA common folder that allows users to share information. — Select the public folder form the menu. This item is active only in case at least one email public folder is available.
- Click Add.
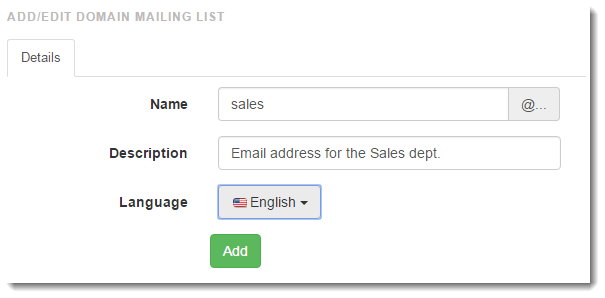
Adding mailing lists
To add a mailing list to your domain:
- Switch to your domain (see above).
- Go to the Mailing Lists section.
- Type a name for the mailing list.
- Type a description.
- Select the language for the mailing list messages.
- Click Add.
Adding user groups
- Switch to your domain (see above).
- Go to the Domain Groups section.
- Type a name for the group.
- Type a description.
- To publish the group in global address list, select Publish in GAL.
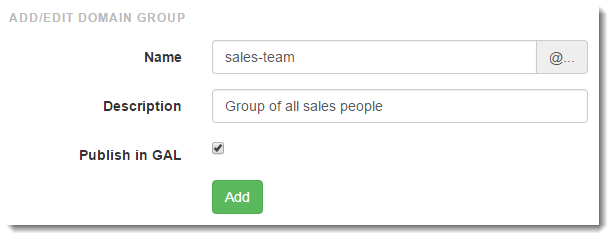
- Click Add.
Adding resources
Resources are meeting rooms and other facilities, such as cars, and parking spaces.
To add a new resource, switch to your domain and go to the Domain Resources section.
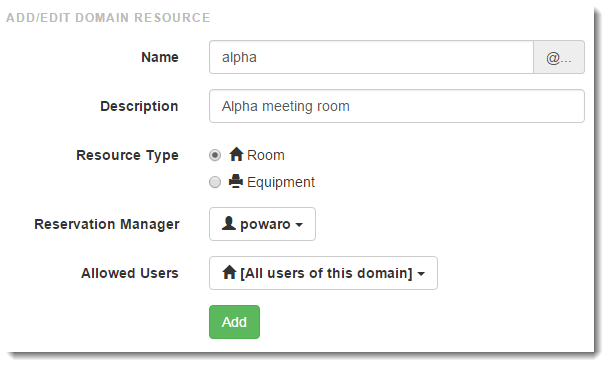
For more information refer to Creating new resources.
Creating domain aliases
To create an alias for the entire domain, switch to your domain and go to the Domain Aliases section.
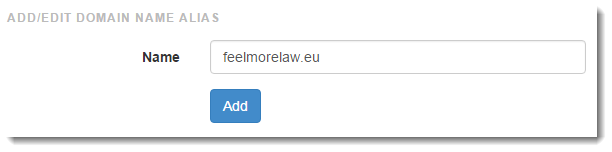
For more information refer to Domain aliases.
Enabling DKIM authentication
DomainKeys Identified Mail (DKIMDomainKeys Identified Mail - An authentication method that signs outgoing messages from Kerio Connect with a special signature for identification.) signs outgoing messages from Kerio Connect with a special signature to identify the sender. Your users thus take responsibility for the messages they send and the recipients are sure the messages came from a verified user (by retrieving your public key).
To enable DKIM:
- Switch to your domain (see above).
- Go to the Spam Settings section.
- Select Enable DKIM.
- Click Save.
- Add the displayed DKIM public key to your DNSDomain Name System - Enables the translation of hostnames to IP addresses and provides other domain related information. records. For more information refer to Configuring DNS for DKIM.