Adding new domains to the Kerio Cloud accounts created prior to May 10, 2016
NOTE
For accounts created prior to May 10, 2016.
To add new domains to Kerio Cloud, you can:
- Register a new domain
- Transfer your domain from another registrar
- Use your existing domain and update your MX records
Registering a new domain
- Log in to your Kerio Cloud account and click Services > Order new service.
- Select Register a new domain.
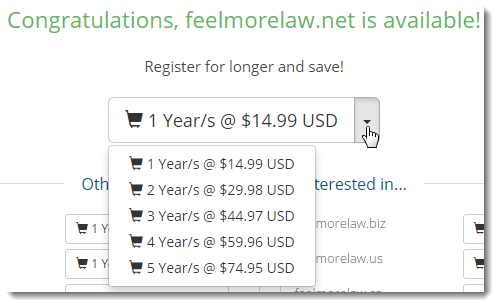
- Type the domain name and select the top level domain (TLD) from the drop down list.
- Click Check.Kerio Cloud checks the availability of the domain.

- Select for how long you want to register the domain and click Continue.
You may also select additional TLD for your domain name.
NOTE
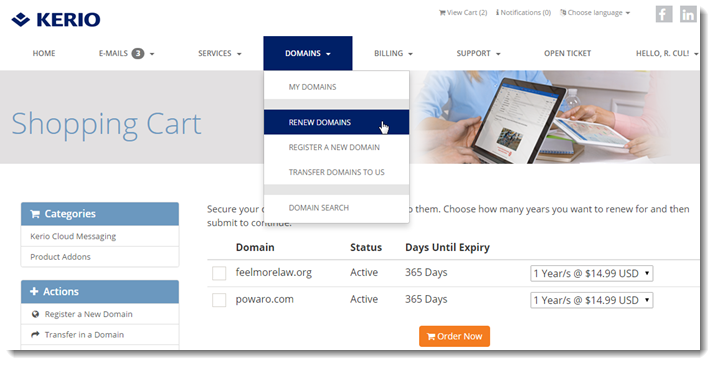
To renew your domain registration, go to Domains > Renew domains.
For further steps, see Setting domain parameters and ordering services below.
Transferring your domain from another registrar
NOTE
Ask your registrar for an EPP code necessary for the transfer.
- Log in to your Kerio Cloud account and click Services > Order new service.
- Select Transfer your domain from another registrar.
- Type the domain name and select the top level domain (TLD) from the drop down list.
- Click Transfer.

- Click Continue.
For further steps, see Setting domain parameters and ordering services below.
Using you existing domain
- Log in to your Kerio Cloud account and click Services > Order new service.
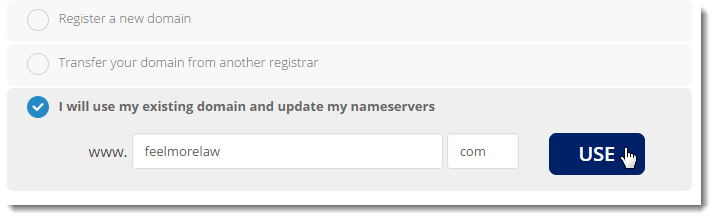
- Select Transfer your domain from another registrar.
- Click Use.
For further steps, see Setting domain parameters and ordering services below.
Setting domain parameters and ordering services
After selecting what domain type you want to use:
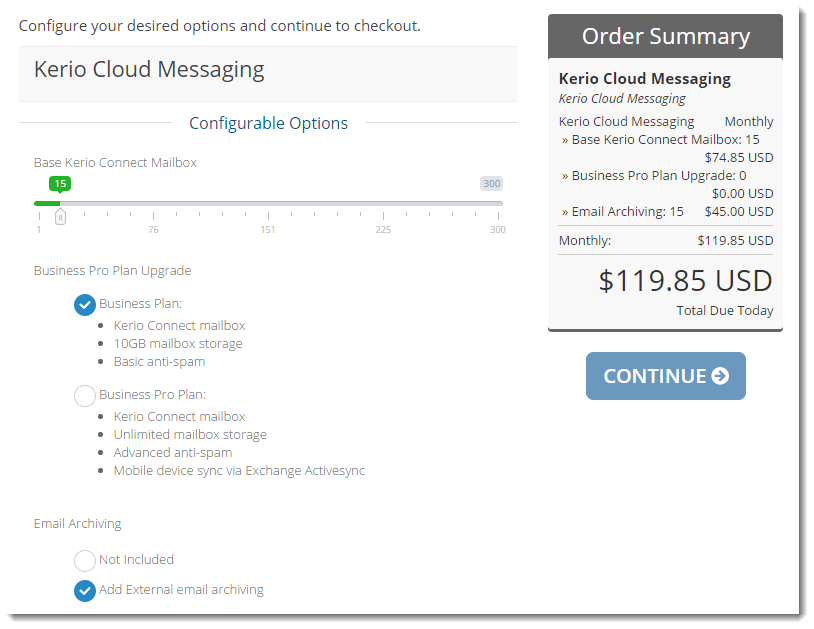
- Select the number of mailboxes (users).
- You can see the current price on the right in the Order Summary section.
- Select your plan.
You can upgrade your plan later. For more information refer to Upgrading the Kerio Cloud accounts created prior to May 10, 2016.
- (Optional) Select Add External email archiving to enable external archiving. You can add archiving later. For more information refer to Upgrading the Kerio Cloud accounts created prior to May 10, 2016.
- Click Continue.
- When registering a new domain, select additional options, and click Continue.

- When transferring your domain, type the EPP transfer code you acquired from your registrar, select additional options, and click Continue.
- Review your order and click Checkout.
- If you have a Promo Code, type the code and click Validate Code.
- To change any items, click Edit next to the item name.
- To cancel the order, click Empty Cart.
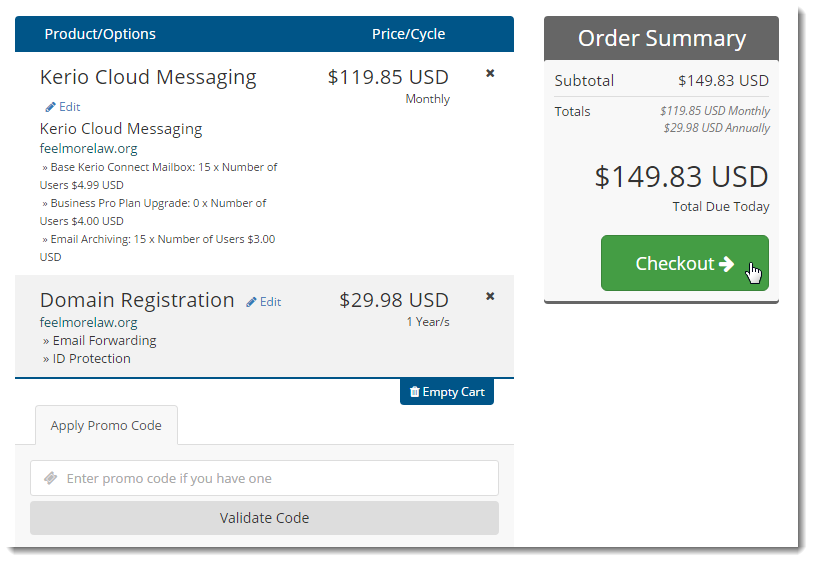
- Click Checkout.
- Review and update your contact information and select the payment method.
- Agree to the Terms of Service.
- Click Complete Order.
- If you pay by PayPal, click Complete Order, click PayPal Check Out(or Subscribe for new PayPal account) and follow the PayPal instructions to pay your order.

Once the order is complete, you receive emails with detailed information about your domains and Kerio Cloud account.
See Configuring domains in Kerio Cloud for details about adding users and configuring your Kerio Connect.