Kerio Connect Migration Service
Kerio Connect Migration Service is a web-based application that allows you to transfer mailbox data and user accounts from your machine containing Kerio Connect installation to Kerio Cloud.
NOTE
To transfer data and configuration from one Kerio Connect server to another, use backup and restore. See Configuring backup in Kerio Connect and Data recovery in Kerio Connect.
Prerequisites
On the Source server, you need a Kerio Connect installation with:
- The domain you want to migrate.
- The account with full admin access and admin access to public folders. Do not use the built-in administrator account.
- IMAPS access to the server on port 993.
- Access to the administration interface on port 4040.
- Port 44337 open for internal communication during migration.
On the Destination server, you need a Kerio Cloud account with:
- The same domain used on the source server
- An admin account for the domain you want to migrate with admin rights to public folders
NOTE
From one server, you can migrate only one domain at a time. To migrate multiple domains from a single server, migrate the domains one by one.
What data is migrated
Kerio Connect Migration Tool transfers the following items:
- All mailboxes created in Kerio Connect.
- All emails, calendars, contacts, tasks, and notes.
- All users email filters in Kerio Connect Client.
- Public folders (calendars, contacts, tasks, and notes).
What data is not migrated
- Passwords
- Aliases
- Resources
- Mailing lists
- Server settings
Changes to user accounts
Kerio Cloud has only domain admin accounts (no full admin access). Therefore, Kerio Connect Migration Service adjusts the access rights to Kerio Connect Administration as follows:
- Full admin becomes a domain admin.
- Read-only admin becomes a standard user.
See Assigning admin rights to individual users for more information about admin access.
Users must also re-configure their clients to use the Kerio Cloud server hostname. See step 12 below.
Migrating data
NOTE
Kerio Connect Migration Service migrates your data from your Kerio Connect to Kerio Cloud periodically. Before you end the migration process, you must download the new user passwords, change your DNSDomain Name System - Enables the translation of hostnames to IP addresses and provides other domain related information. MX records, and the users must re-configure their email clients.
- In your browser, go to the Kerio Connect Migration tool page:
- To migrate to a US based data center, go to https://migration.kerio.cloud/.
- To migrate to a European data center, go to https://migration.eu1.kerio.cloud/.
- To connect to the cloud server, key in:
- The hostname of the cloud server you received after registering for an account.
- The Kerio Cloud domain admin email address and password.
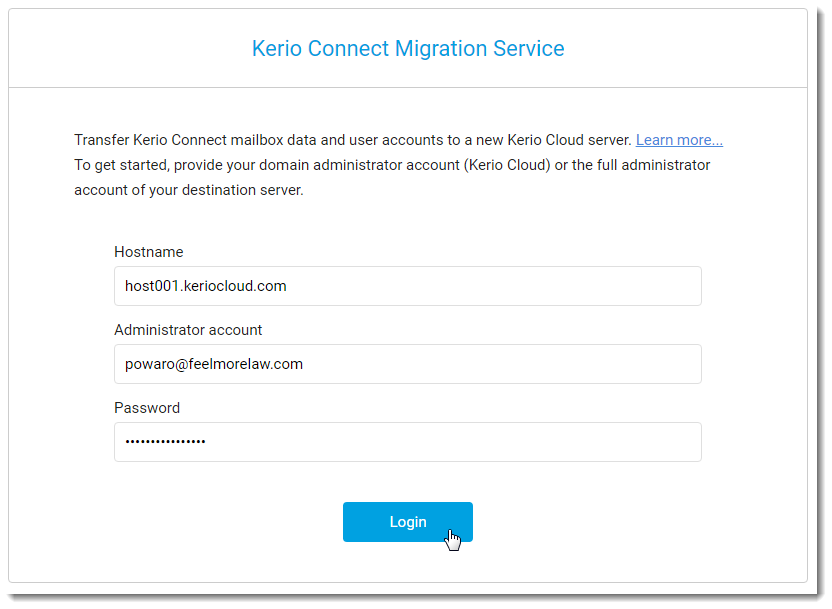
- Click Login.
- To connect to your source server, key in:
- The hostname of your Kerio Connect server.
- The email address and password of a user with full admin access rights and public folder admin access.
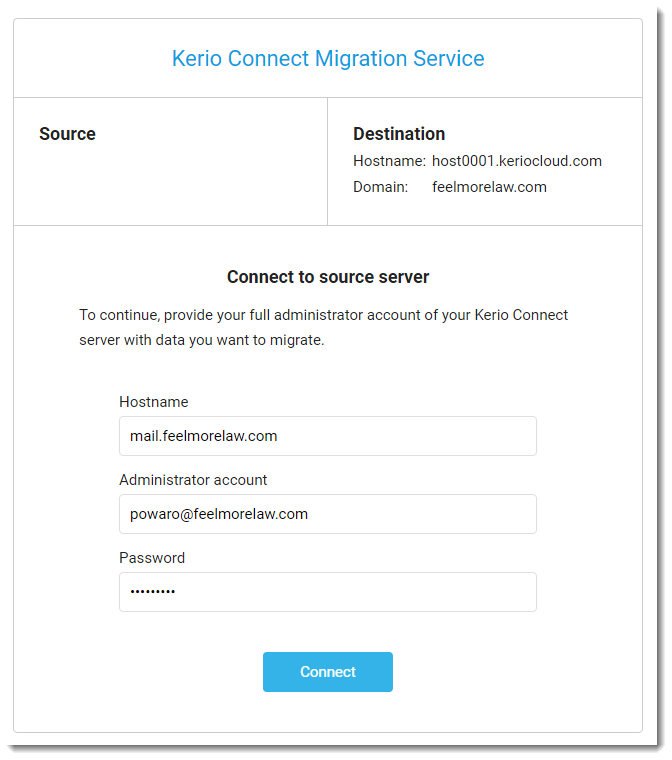
- Click Connect. Kerio Connect Migration Service verifies the access to both servers and that both servers have the same domain.
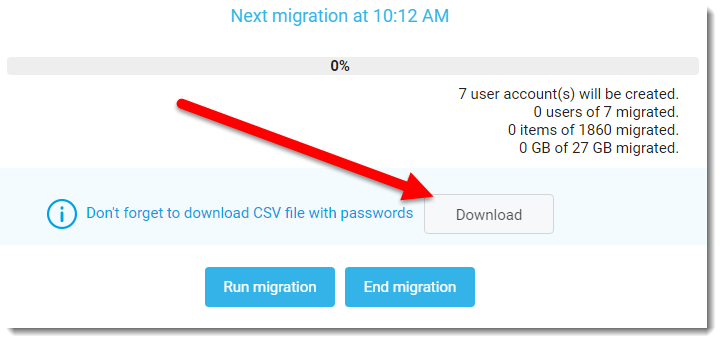
- Click Run migration to start the migration process.
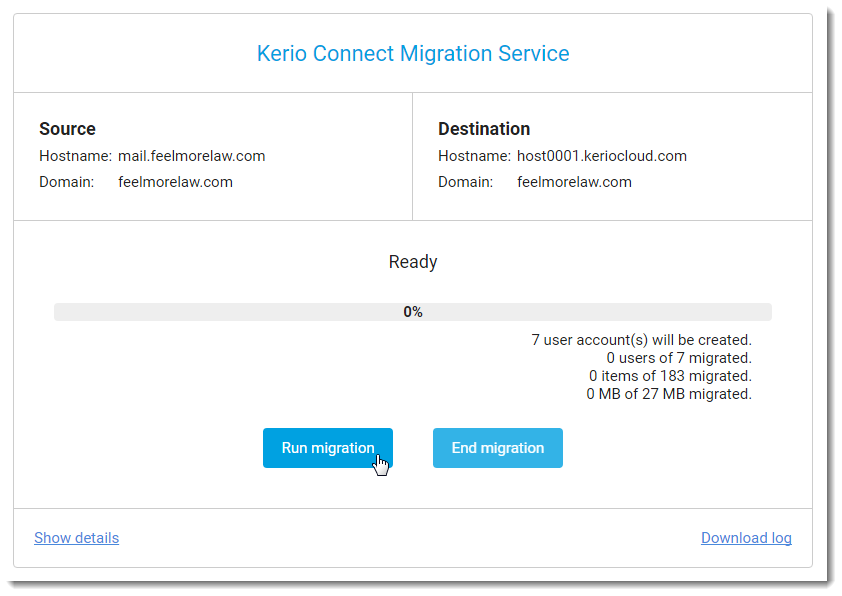
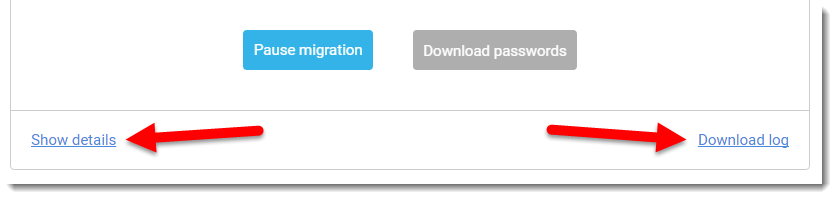
- Optionally, you can temporarily interrupt the migration process whenever you want by clicking Pause migration and then Resume migration.
- Click Download to save a CSV file with usernames and new user passwords for the migrated accounts.
IMPORTANT
You must download the passwords before you end the migration. Otherwise, all user passwords will be lost.
- Change your DNS MX records so that they point to the Kerio Cloud server. For more information refer to What is an MX record, and how is it created?.
- Verify that messages for your domain are properly routed to the Kerio Cloud server.
- Users must re-configure their clients to use the Kerio Cloud server hostname. They must also use the passwords from the CSV file you downloaded in step 9. It is recommended to change the passwords immediately after their first login.
- Click End Migration to finish the migration process.
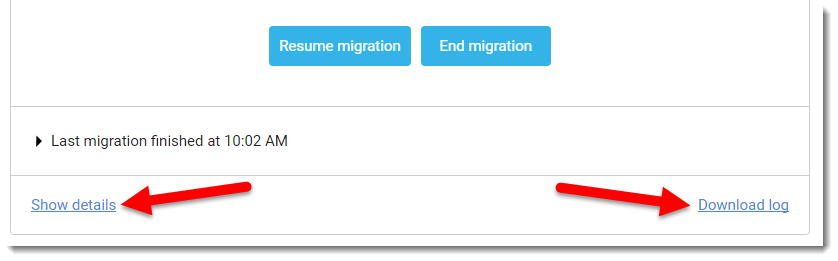
NOTE
Click Show details during the migration to display the last 2000 lines of the migration log. To see the full log, click Download log.
- If necessary, re-configure your DNS for autodiscovery and DKIM, and adjust any domain settings in Kerio Cloud.
- Stop using your old Kerio Connect server.