Setting access rights in Kerio Connect
In Kerio Connect, you can set access rights to:
- Kerio Connect Administration (see below)
- Public folders (For more information refer to Public folders in Kerio Connect.)
- Archive folders (For more information refer to Archiving in Kerio Connect.)
Administrator accounts and access rights
In Kerio Connect, there are two types of administrator accounts:
- Built-in administrator
- Users with special access rights to the administration
Enabling the built-in administrator account
In Kerio Connect, you can enable a special administrator account. This account is available only for accessing the administration interface.
The built-in admin account:
- Has username
Admin - Doesn't count into your license
- Has whole server read/write rights
- Doesn't have an email address and message store
To enable the built-in admin account:
- Go to section Configuration > Administration Settings
- Select Enable built-in administrator account
- Type a password for this administrator.
The username is set to
Adminand cannot be changed. - Click Apply.

NOTE
If the built-in admin account is enabled and any of your standard users has username Admin, the standard user must include their domain in the login dialog.
If you wish to disable the built-in admin account, just unselect the Enable built-in administrator account option in Configuration > Administration Settings.
The same rules as for disabling other admin accounts apply.
Assigning admin rights to individual users
Types of admin access rights
You can assign users and groups the following administration access rights:
- Whole server read/write: Admins can view and edit the whole administration interface.
- Whole server read only: Admins can view the whole administration interface.
Domain accounts
Admins can view and edit their own domain settings:
- Users (For more information refer to Creating user accounts in Kerio Connect.)
- User groups (For more information refer to Creating user groups in Kerio Connect.)
- Aliases (For more information refer to Creating aliases in Kerio Connect.)
- Mailing lists (For more information refer to Creating mailing lists in Kerio Connect.)
- Resources (For more information refer to Configuring resources in Kerio Connect.)
The domain admin cannot assign the archive admin rights, and set the items clean-out.
Assigning admin access rights
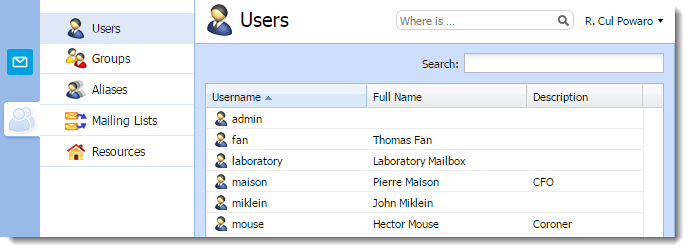
- Go to Accounts > Users or Accounts > Groups.
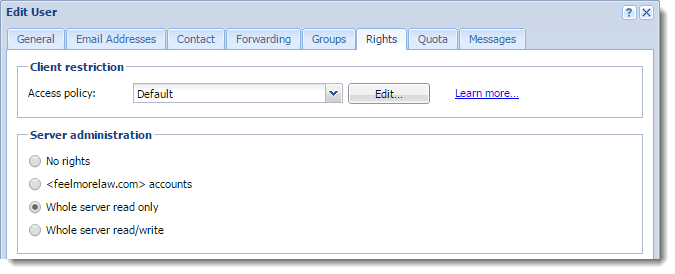
- Double click a user or a group.
- On the Rights tab, select the level of access rights in the Server administration section.
- Click OK.
NOTE
To manage public and archive folders, see Public folders in Kerio Connect and Archiving in Kerio Connect.