Kerio Connect Client for Windows and Mac
NOTE
New in Kerio Connect 9.2!
Kerio Connect Client for Windows and Mac is a native desktop application for managing emails, chat messages, calendars, contacts, tasks, and notes.
You can install it on your computer and enjoy the same features as the browser-based application. For more information refer to Kerio Connect Client.
System requirements
Kerio Connect supports:
- Mac OS X High Sierra and newer
- Microsoft Windows 7 and newer
For complete system requirements, see the Kerio Connect product page.
Installing the application
- Go to the Kerio Connect download page.
- On the Clients tab, locate Kerio Connect Client application for Windows or Mac.
- Click Download update.
- Run the installation.
- On Windows, click Run to install Kerio Connect Client. On Mac, drag the Kerio Connect Client icon into the Applications folder.
NOTE
You can also download Kerio Connect Client from the integration page.
On the Kerio Connect Client for web login page, click Integration with Windows/Mac and download the application.Logging into Kerio Connect Client
To use Kerio Connect Client, you must log in to your account. Once you log in, Kerio Connect Client stores your credentials and automatically logs you in next time you open the application.
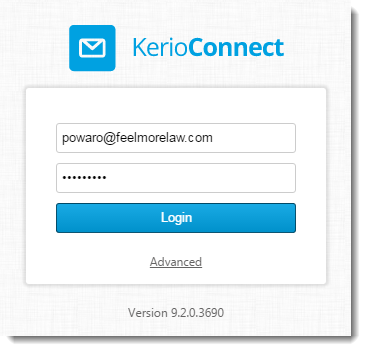
- Double-click the Kerio Connect Client icon.
- Type your Kerio Connect email and password.
- Click Login.
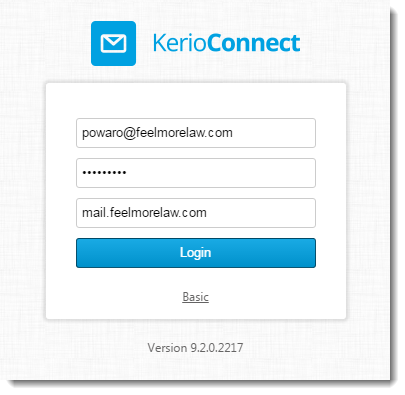
If Kerio Connect Client cannot locate your account, your must also type the Kerio Connect server name:
- Click Advanced.
- Type your Server name.
- Click Login.
NOTE
Kerio Connect Client attempts to locate your server using Autodiscover. If the administrator for your domain does not configure Autodiscover, you must type the address of your server. For more information refer to Configuring Autodiscover in Kerio Connect.
Changing user accounts
If you want to log in as another user:
- Click File > Logout.
- Log in.
Upgrading the application
Kerio Connect Client automatically checks for new versions. If a new version is available, the client prompts you to apply it.
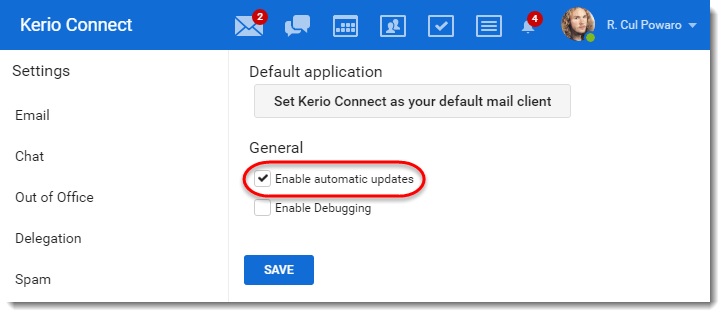
To change the automatic updates:
- Click Tools > Settings.
- Switch to the This application section.
- Select or Deselect Enable automatic updates.
- Click Save.
You can also install new versions manually:
- Click Help > Check for updates (Windows) or Kerio Connect > Check for updates (Mac) to install a new version if available.
Or
- Install a new version on top of the current one to replace it, as described in Installing the application.
Customizing the application
For more information refer to Configuring your Kerio Connect Client.
Working with the application
The application has the same functions and features as the browser-based Kerio Connect Client. For more information refer to Kerio Connect Client.
Click Help > Kerio Connect Knowledge Base to display information about the section you are currently in.
Kerio Connect Client for Windows and Mac also enables OS capabilities within the applications, such as emoji, spelling and grammar check, and dictation.
Setting Kerio Connect as the default email client
The use Kerio Connect Client to send messages from other applications, you must set Kerio Connect Client as the default email client:
- In Kerio Connect Client, click Tools > Settings.
- Go to the This application section.
- Click Set Kerio Connect as your default email client.
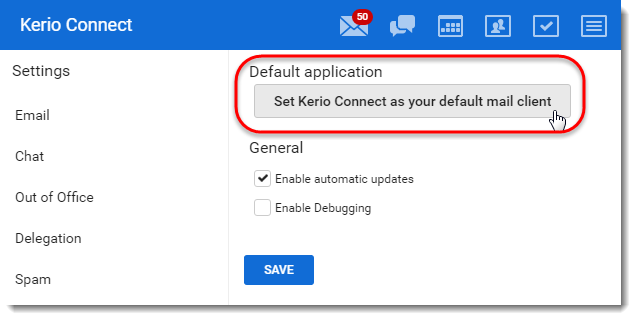
- If your system is Windows 8.1 or Windows 10, the Choose default apps dialog opens. Click Email and select Kerio Connect as the default email client.
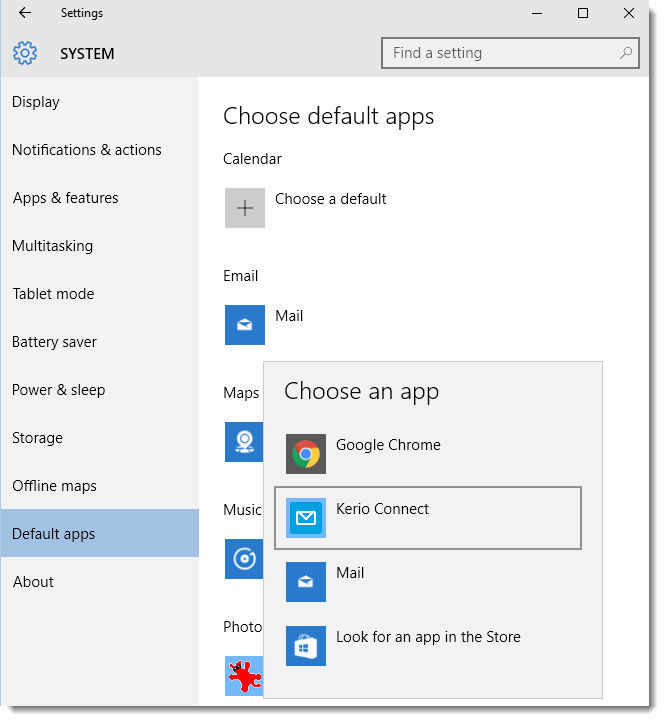
From now on, when you send email messages from your browser or another application, Kerio Connect Client opens and you can start writing your email message.
NOTE
OS X Yosemite and El Capitan may not allow you to set a default email client. To fix it, see the following Apple support page: https://support.apple.com/en-us/HT203129
Troubleshooting
In case of any problems, you may be asked to provide a debug log from your client.
To enable the debug log:
- In Kerio Connect Client for Windows or Mac, click Tools > Settings.
- Switch to the This application section.
- Select Enable Debugging.
- Click Save.
A new item menu, Developer, appears.
To display the debug log, click Developer > Open Debug Log in your Kerio Connect Client for Windows and Mac.