Authenticating messages with DKIM
DomainKeys Identified Mail (DKIM) signs outgoing messages from Kerio Connect with a special signature to identify the sender. Your users thus take responsibility for the messages they send and the recipients are sure the messages came from a verified user (by retrieving your public key).
To sign messages with a DKIMDomainKeys Identified Mail - An authentication method that signs outgoing messages from Kerio Connect with a special signature for identification. signature:
- Enable DKIM authentication in your domain settings.
- Add the DKIM public key to your DNS settings.
Enabling DKIM in Kerio Connect
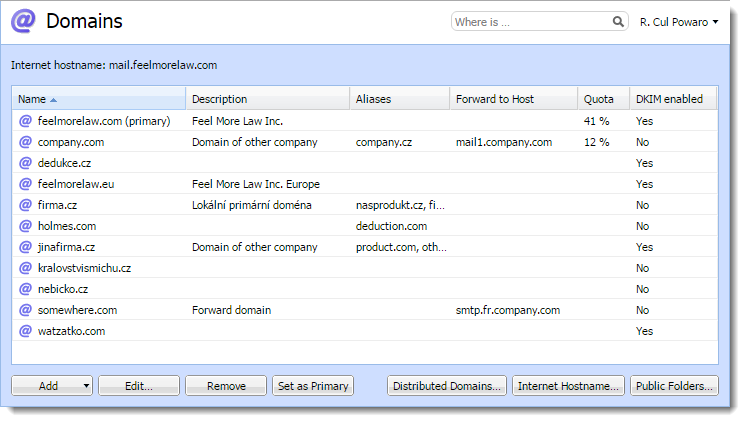
- In the administration interface, go to section Configuration > Domains.
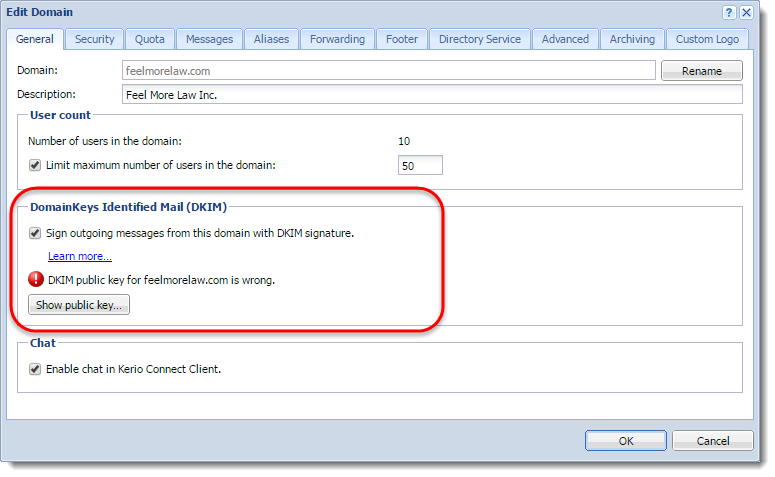
- Double-click your domain and go to tab General.
- Enable option Sign outgoing messages from this domain with DKIM signature.
- Save the settings.
To see which domains have DKIM enabled, add column DKIM enabled in section Configuration > Domains.
Your DNSDomain Name System - Enables the translation of hostnames to IP addresses and provides other domain related information. records must include the DKIM public key for your domain. Without proper DNS records, Kerio Connect will send messages without the DKIM signature. Each message your users send will create an error message (see Error log).
For more information refer to Configuring DNS for DKIM.
Aliases
If the domain includes also aliases, add the DNS record also to all aliases.
Testing the DKIM signature
If you want to test whether your domain signs messages with DKIM, you can use for example the DomainKeys Test online tool.