Migrating configuration from one Kerio Control hardware appliance to another
This article describes hardware device replacement. There are two basic scenarios:
- Your original hardware device is broken and you received a new hardware device of the same type.
- Your original hardware device works well, but you want to upgrade your infrastructure with a new Kerio Control hardware device.
To switch from one Kerio Control hardware applianceKerio Control installed and delivered with standardized and tested hardware box. to another, you need to configure and register the new Kerio Control and then switch off the original appliance.
If your original hardware appliance is still running, configure the new hardware appliance in advance in your office. If the original Kerio Control is broken, you can configure the new one in the production environment.
Use the following steps:
- Get the configuration files from a backup or the original Kerio Control installation.
- Connect the new appliance to the Internet.
- Activate the license.
- Upgrade the new appliance to the latest version of Kerio Control.
- Import the configuration to the new appliance.
- Replace the hardware appliance.
Before you start
In the administration interface for the original hardware appliance, go to the Interfaces section and note all the interfaces and their type. You must ensure that the new hardware appliance has the same number of interfaces as the original.
IP addresses assigned to interfaces are imported to the new hardware appliance only if they are in manual mode. All interfaces with automatic mode get the new IP addresses from the DHCPDynamic Host Configuration Protocol - A protocol that automatically gives IP addresses and additional configuration to hosts in a network. server. This can be changed later in the Interfaces section.
Getting configuration files
Exporting a configuration from the original Kerio Control appliance
- In the administration interface, go to Dashboard.
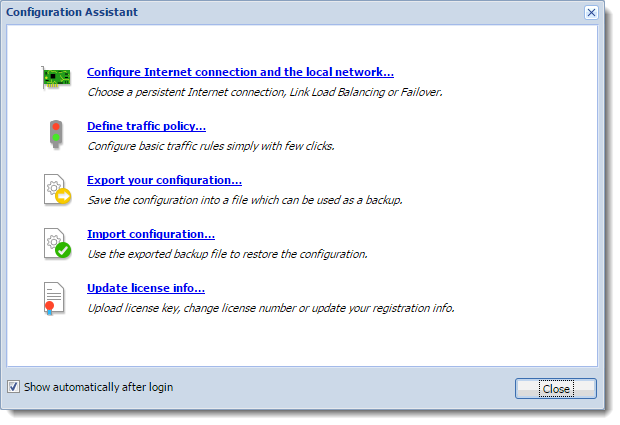
- Click Configuration Assistant.
- In the Configuration Assistant dialog box, click Export your configuration.
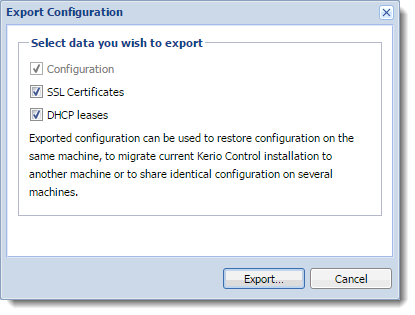
- In the Export Configuration dialog box, select all the items.
- Click Export.
Your browser downloads the Kerio Control backup file with the
configuration.
The backup file has the following format:ControlBackup_2016_03_03__14_44_45.tar.gz.
Downloading a backup from FTP, MyKerio
If your original Kerio Control does not work, download the last backup from the FTP server, MyKerio.
IMPORTANT
If your original Kerio Control does not work and you don't have a backup, configure the new Kerio Control manually.
Connecting the new Kerio Control to the Internet
The DHCP server in the Kerio Control hardware appliance is enabled by default. (For details, see the printed Installation Guide attached to the Kerio Control hardware appliance.)
Requirements:
- The hardware appliance must be plugged into a socket.
- At least one Internet cable must be connected.
- At least one LANLocal area network - A network that connects computers and other devices in a small area. cable must be connected.
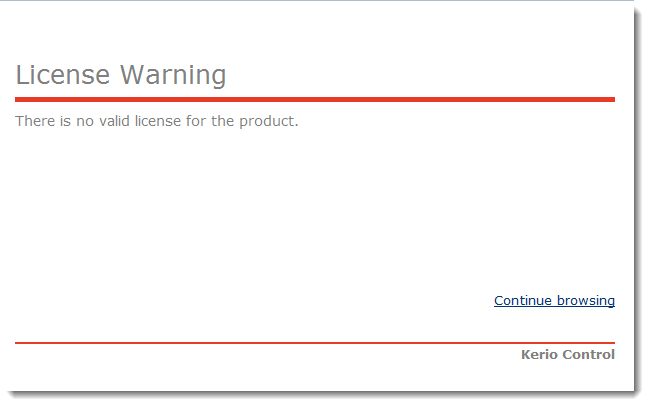
At this point the hardware appliance is running and you can access the Internet from the local network. However, all users connected in the Kerio Control network will see the following page every 2 minutes until you activate your Kerio Control.
Registering a new Kerio Control
If the new hardware appliance is of the same type as the original one, you can use the same license. In all other cases, you need a new license. For details, contact your Kerio sales representative.
Registering the new Kerio Control hardware appliance is a part of the Activation Wizard, which appears when you point your browser to https://10.10.10.1/admin.
NOTE
You can also register your new hardware appliance through MyKerio. For more details, see Installing Kerio Control Box through MyKerio.
Upgrading the new Kerio Control hardware appliance
Before you import the configuration, you must have the same version of Kerio Control that was running on the original appliance (or a newer version) installed on the new hardware appliance:
- In the administration interface, go to Advanced Options > Software Update.
- If a new version is available, click the Download button.
- After the new version downloads, click Upgrade Now and wait for the server to restart.
Once the server has restarted your Kerio Control hardware appliance is up to date.
Importing a configuration to a new Kerio Control
At this point, you can import the Kerio Control configuration:
- Open the administration interface. The Configuration Assistant should open automatically. If it does not, in the Dashboard, click Configuration Assistant.
- In the Configuration Assistant dialog box, click Import configuration.
- In the Import Configuration wizard, click Upload configuration file.
- Select the file and click Open.
- Select Restore from backup to completely replace all the configuration files.
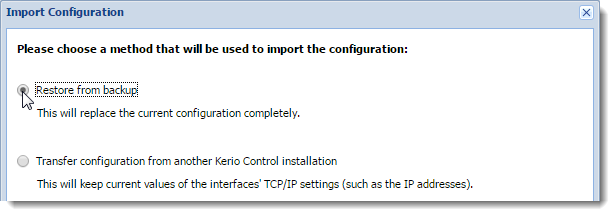
- Click Next.
- Kerio Control pairs the imported network interfaces with the real interfaces on the appliance. To change the result:
- Double-click the interface you want to change.
- In the Select Interface dialog box, double-click the interface you want to pair. From now on, the interface from the original appliance is paired with the new one.
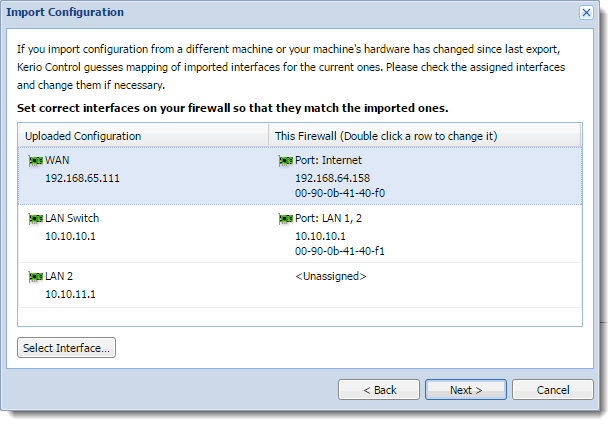
If you cannot pair the interfaces, edit them later in the Interfaces section of the administration interface.
- Click Next.
- Read the notes in the last step of the wizard and click Finish.
Kerio Control imports the configuration and restarts.
The new Kerio Control hardware appliance is now configured and ready to replace the original appliance.
Switching appliances
IMPORTANT
The following procedure requires Kerio Control to be taken offline.
- Stop the original hardware appliance.
- Disconnect all the cables.
- Swap in the new appliance in place of the original one.
- Connect all the cables.
- Switch on the new appliance.
- Open the web interface of the new appliance.
- Go to the administration interface and in the Interfaces section check to see whether all the interfaces are configured properly. For example, standalone/LAN switchA network unit which connects separated subnets. settings are not transferred, so you must set them up manually.
IMPORTANT
Connect to the administration interface from the local network. The Internet interface does not allow access by default.