Post-Installation Wizard
The post-installation wizard loads automatically after installing GFI MailEssentials the first time. It enables configuration of the most important settings of GFI MailEssentials.
- Click Next in the welcome page.
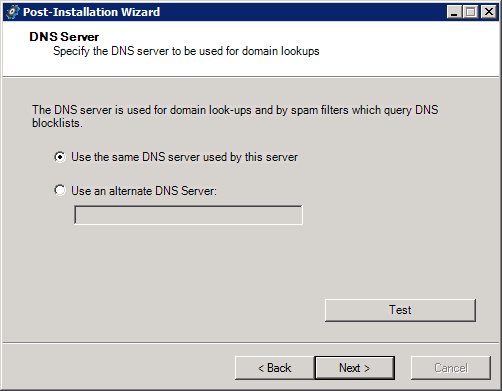
- In the DNS Server dialog, select:
Click Test to test connection with the specified DNS server. If test is unsuccessful, specify another DNS server. Click Next.

Proxy settings
- In the Proxy Settings dialog, specify how GFI MailEssentials connects to the Internet. If the server connects through a proxy server click Configure proxy server… and specify proxy settings. Click Next.
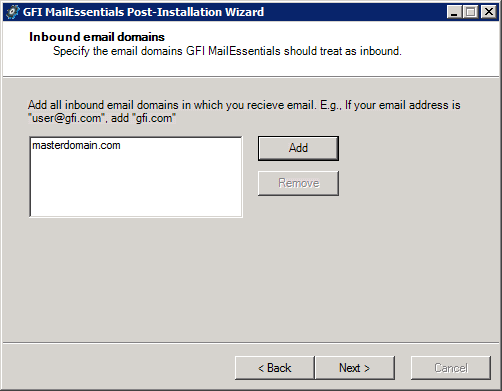
Inbound email domains
- In the Inbound email domains dialog specify all the domains to scan for viruses and spam. Any local domains that are not specified in this list will not be scanned. Click Next.
NOTE
When adding domains, select Obtain domain’s MX records and include in perimeter servers list to retrieve the domain’s MX records and automatically add them to the perimeter SMTP servers list (configured in the next step).
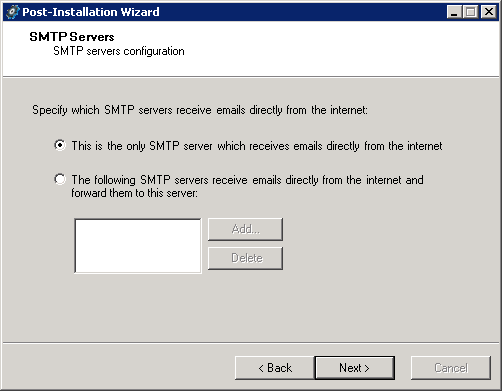
- In the SMTP Servers dialog specify how the server receives external emails. If emails are routed through other servers before they are forwarded to GFI MailEssentials, add the IP address of the other servers in the list. For more information about perimeter SMTP servers refer to: http://go.gfi.com/?pageid=ME_PerimeterServer. Click Next.
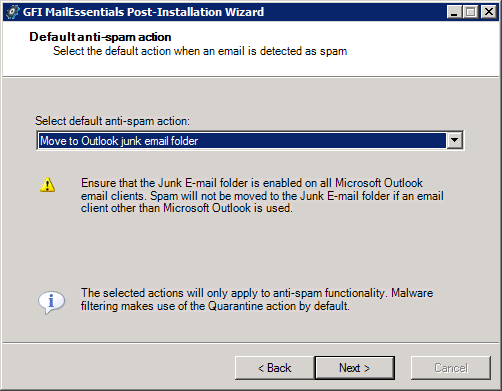
Selecting the default anti-spam action to use
- In the Default anti-spam action dialog select the default action to be taken when emails are detected as spam. This action applies to anti-spam filters only. Malware filters automatically quarantine blocked emails.
NOTE
When installing on Microsoft® Exchange 2010 or later, and the default action selected is Move to sub folder in recipient's Exchange mailbox, a user with impersonation rights must be created. Select whether to let GFI MailEssentials automatically create the user or manually specify the credentials and click Set access rights to assign the required rights to the specified user. This user must be dedicated to this feature only and the credentials must not be changed. For more information refer to Set a Microsoft® Exchange account.
Click Next.
- When installing on Microsoft® Exchange Server 2010 or newer, the list of Microsoft® Exchange server roles detected and GFI MailEssentials components required is displayed. Click Next to install the required GFI MailEssentials components.
- Click Finish to finalize the installation.
GFI MailEssentials installation is now complete and the email protection system is up and running.
Next step: Optimize your protection system to ensure that it is effectively up and running. For more information refer to Post-Install actions.
NOTE
To re-run the Post-Installation wizard, from command prompt, navigate to the GFI MailEssentials installation folder and run the following command:
e2k7wiz.exe clean