Installing GFI Directory
Before installing GFI Directory ensure that the machine meets all the system requirements. For more information refer to System requirements.
To install GFI Directory:
- Download executable. The 32-bit and 64-bit installers are available from http://go.gfi.com/?pageid=DIR_TryNow.
- Right-click the GFI Directory installer and choose Properties. From the General tab, click Unblock and then Apply. This step is required to prevent the operating system from blocking certain actions by the installer.
- Double-click installer.

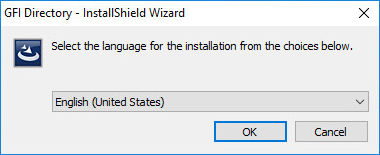
Select the Language for GFI Directory installation.
- Select the Language. Click OK.
- In welcome screen, click Next.

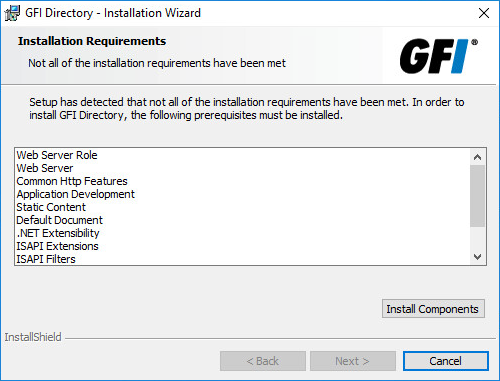
List of missing components is displayed
- Installer checks for missing pre-requisites. Click Install Components to continue.
NOTE:
If Windows Firewall is enabled, a warning is displayed when the installer tries to load the Active Directory Lightweight Directory Services Installer. Click Allow access to proceed with the installation.
IMPORTANT
The installation wizard needs an Internet connection to install missing components automatically. If installing on a machine with no Internet connection, ensure missing pre-requisites are downloaded from another machine and installed manually.
- In the License Agreement page, click I accept the terms in the license agreement and click Next.

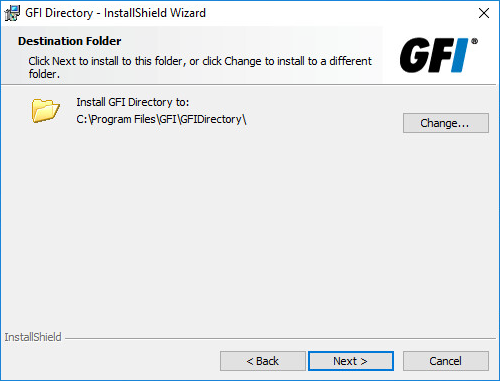
Select the Destination Folder
- Select a destination folder for the installation. The default is
C:\Program Files\GFI\GFIDirectory. To indicate another path click Change. Click Next. - Select the website and virtual directory alias for the web application. The default alias is GFIDirectory.
- Click Next.
- Click Install.
- To start using GFI Directory check Launch GFI Directory now. Click Finish.