Performing initial configuration in Kerio Connect
Before you start using Kerio Connect, you must perform an initial configuration to configure the basic parameters for Kerio Connect. These parameters include:
The wizard creates special files where the server configuration is saved.
Configuration files
During the initial configuration, the following configuration files are created:
users.cfg- an XML file with the UTF-8 coding which includes information of user accounts, groups and aliases.mailserver.cfg- an XML file with the UTF-8 coding which contains any other parameters of Kerio Connect, such as configuration parameters of domains, back-ups, antispam filter, antivirus etc.
The default location of these configuration files is:
- Windows: C:\Program Files\Kerio\MailServer
- Mac: /usr/local/kerio/mailserver
- Linux: /opt/kerio/mailserver
NOTE
On Mac OS X and Linux systems, files can only be maintained if the user is logged in as the root user.
Configuring initial parameters
NOTE
You can change all the settings from the initial configuration wizard later in the administration interface.
- Install Kerio Connect.
- Open the following address in your web browser:
https://kerio_connect_server:4040/admin - Select a language for the initial configuration wizard and click Next.
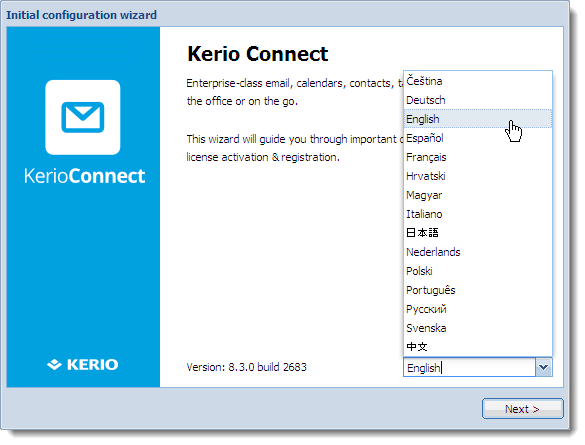
NOTE
This language gets set as the default language.
- Accept License Agreement and click Next.
- Specify Internet hostname and Email domain.
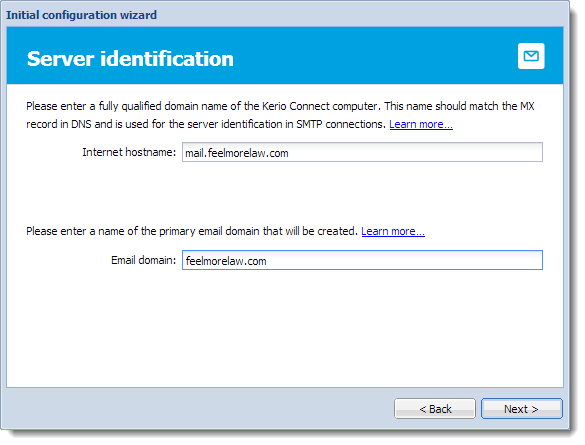
| Field | Description |
|---|---|
| Internet hostname | Enter a fully qualified domain name of the Kerio computer. The name should match the MX recordMail Exchanger record is a record in DNS that specifies which server is handles email messages. in DNSDomain Name System - Enables the translation of hostnames to IP addresses and provides other domain related information. and is used for the server identification in SMTPSimple Mail Transport Protocol - An internet standard used for email transmission across IP networks. connections. |
| Email domain | Enter a name of the primary email domain that will be created. For more information refer to Domains in Kerio Connect. |
- Click Next.
- Set a username and password for an administration account and click Next.
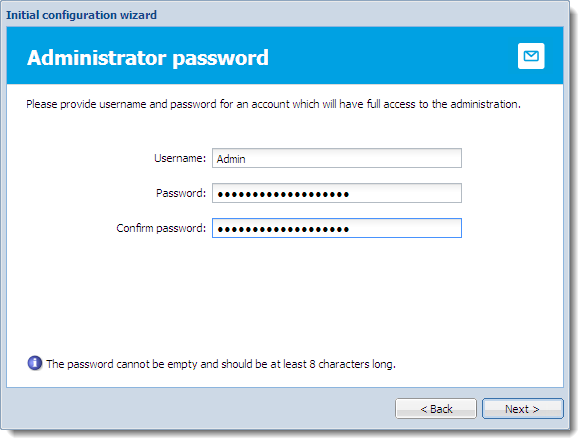
NOTES
This first administration account consumes one license, you can later switch to the built-in admin account in the administration interface.
For more information refer to Setting access rights in Kerio Connect.
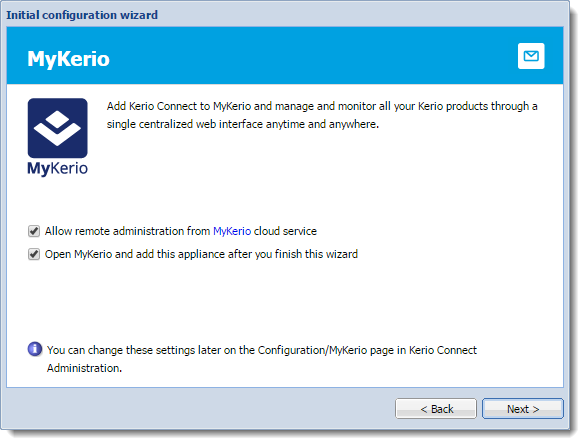
- To manage your Kerio Connect from the MyKerio cloud service, select Allow remote administration from MyKerioWeb-based application for monitoring and managing appliances of Kerio products. and click Next. To go to MyKerio immediately after you finish the wizard, select Open MyKerio and add this appliance.... For more information about MyKerio, read Adding Kerio Connect to MyKerio.
- Set a directory for the message store and click Next.
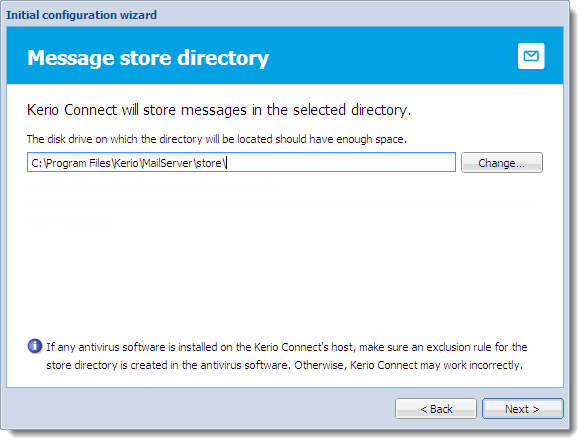
Kerio Connect verifies if you have enough free disk space available.
For more information refer to Configuring data store in Kerio Connect.
NOTE
The folder must be on a local disk. If you're using a virtual machine, define the disk as local.
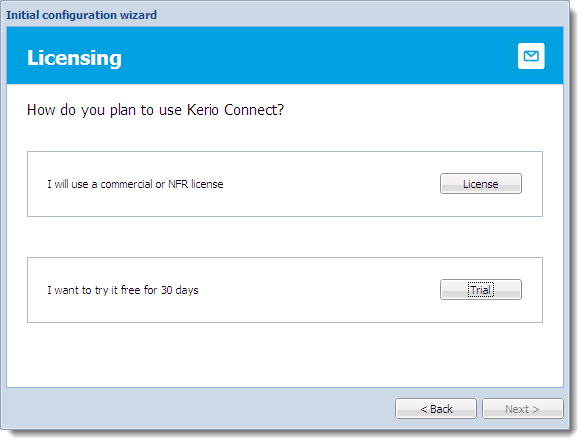
- Register the product or continue without the registration. Click Next.
When you finish the wizard, log in to Kerio Connect administration using the administrator username and password from the wizard or log in to MyKerio.