Generating reports
Generate reports to have an output file that you can download or print.
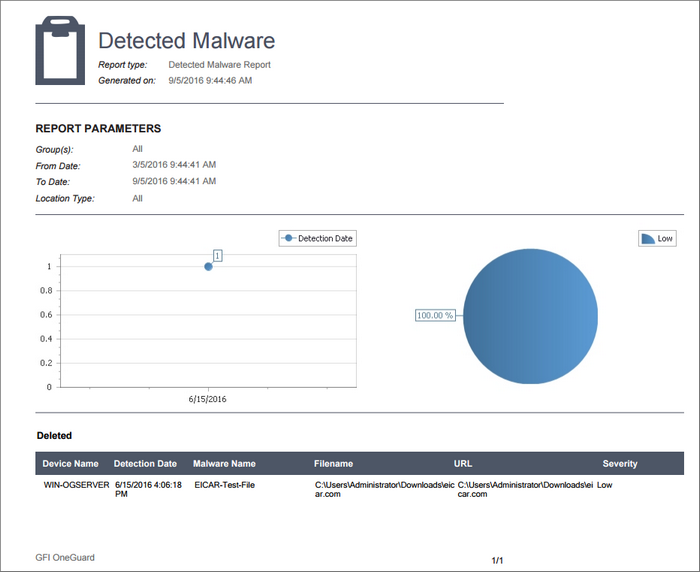
A report generated by GFI OneGuard
To generate a report:
- Login to GFI OneGuard and click Reports.
- Hover over the desired report and click Generate.
- To generate and download a report without customizing settings, click the Generate button on the new screen. Alternatively edit the settings to customize the report.
- From the General tab, configure report parameters. The parameters available may vary between different report types. The following table describes common parameters across reports:
| Option | Description |
|---|---|
| Name | Rename the reports to easily remember the changes made. |
| Description | Add a description of the report being generated. |
| Group | Select the groups to be included in the report. Separating the report by groups keeps the report smaller and can help to organize the information by sectors. |
| Date | Set the cut-off date that the report should cover. Choose either a relative time period with respect to the date when the report is generated, for example, choose Last 7 days to show data for a week prior to the date when report is generated. Alternatively, choose a Custom date range with custom from and to dates. Limiting the date range helps to keep the reports into a manageable size. |
| Location | Select a particular location to be included in the report. Options are quarantine, blocked and deleted. |
| Format | Select a format for the output of the report. The available options are PDF and XLS (Microsoft Excel). |
- Reports also can also be scheduled or set to be sent via email.
- When all data is configured, the report can be saved for future use. Click Save Report to save the changed made on the report. The saved report will be available in the Custom node of the Reports screen.
- Click Generate to create the report. The new report will be made available under the Generated node of the My Reports section when generation is complete.