Creating custom reports
Creating custom reports requires planning while setting up conditions. Conditions are set to determine what is filtered and presented in the report. Failing to configure conditions properly generates unwanted noise and inaccurate information.
To create a new custom report:
1. From Reporting tab > Reports, right-click a root folder/folder/root report and select Create Report.
Creating a root report
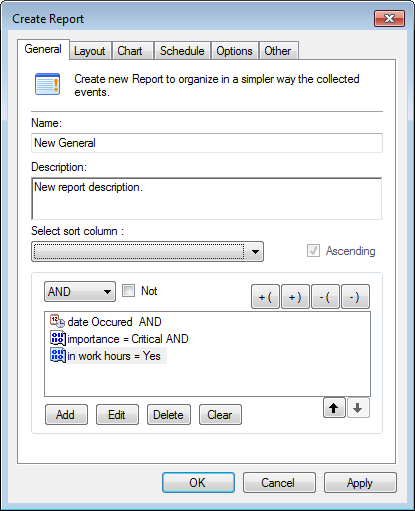
2. From the General tab, specify a name and description (optional) for the new root report.
3. Click Add to select a field on which to base the query condition. For the selected field, specify the Field Operator and Field Value. Click OK.
Note
Repeat this step until all the required fields are selected.
Configuring new root report layout options
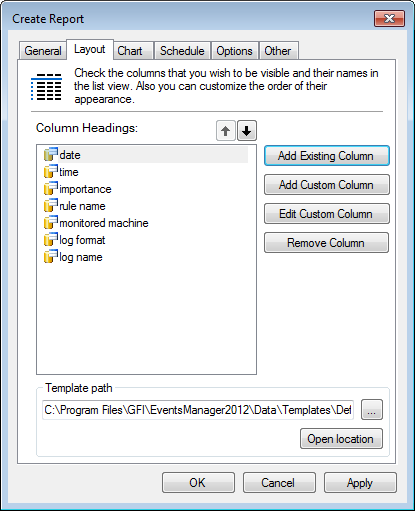
4. Click Layout tab and add the column headings that you want to be visible in the report. If you have a saved report template, click Open location to browse and load your template.
Inserting a chart in a new root report
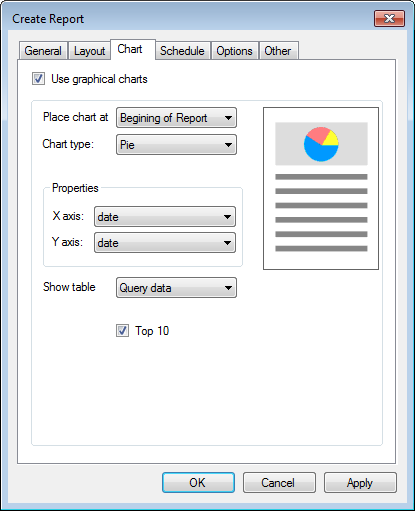
5. (Optional) Click Chart tab and select Use graphical charts to include graphs in your report.
6. From the Place chart at drop-down menu, specify the location of the chart. Select from:
- Beginning of Report
- End of Report.
7. From Properties > X axis and Y axis, configure the X and Y Axis properties. I.e. select the data represented in the chart.
8. Select Top 10 to view the Top 10 records only.
Configuring the schedule for when the report is generated
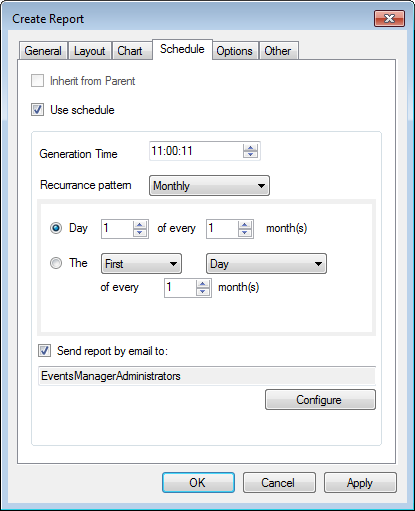
9. (Optional) Click Schedule tab and configure schedule settings.
10. Select Send report by email to and click Configure to select the recipients of this report.
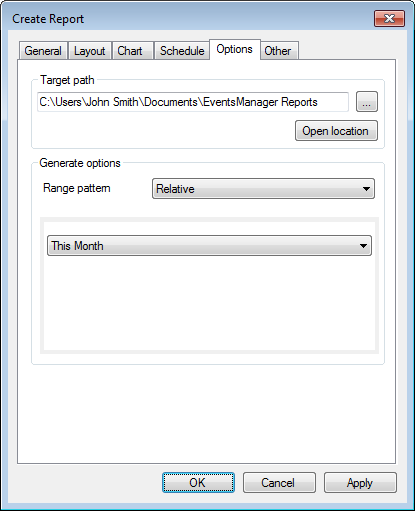
Create new report Options
11. Click Options tab and specify the path to where the report generates to in the Target path area.
12. From the Range pattern drop-down menu, select the options described in the table below:
| Pattern | Description |
|---|---|
| All Time | Select All Time to generate the report based on information from all the related logs. |
| Relative |
Generate the report based on events from:
|
| Day | Specify a single day that you want to base your report on. |
| Month | Specify a month and year that you want to base your report on. |
| Date Range | Specify a From and To date to base report information on events collected in the specified time period. |
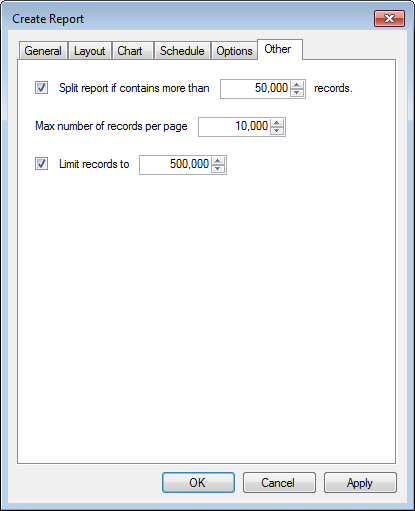
Record limit settings
13. Click Other tab to configure report record limits. Available options are described in the table below:
| Option | Description |
|---|---|
| Split report if it contains more than {X} records |
Select the checkbox to enable record limit per report. GFI EventsManager automatically creates a new report for every number of records you specify. Example: if you key in 50, 000 and the report contains 150, 000 records, GFI EventsManager generates three reports. |
| Max number of records per page |
Specify the number of records that are displayed in a single page. |
| Limit records to | Specify the maximum number of records that are included in the report. Records that exceed the limit are ignored. |
14. Click Apply and OK.