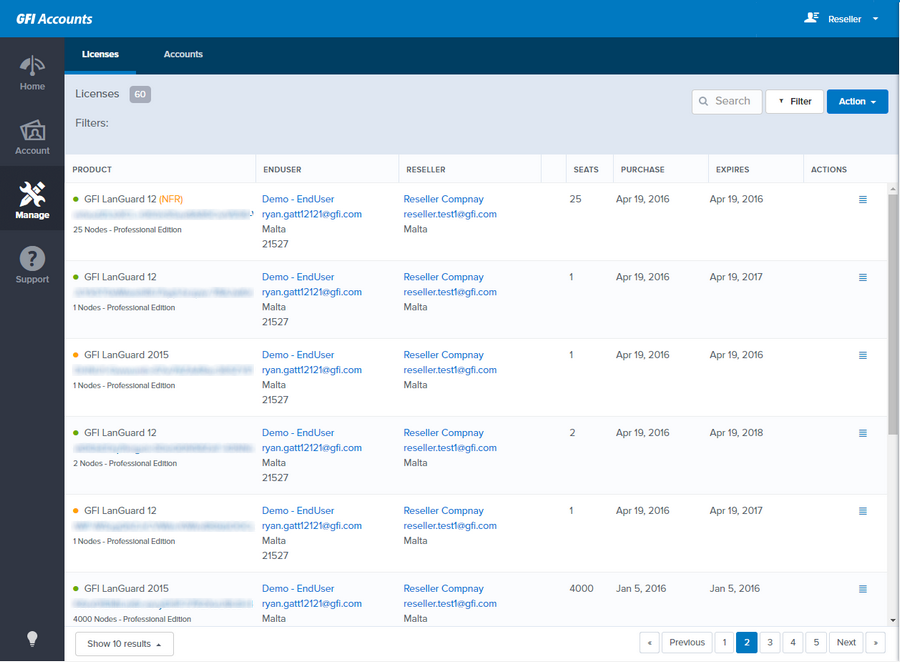
Managing licenses
The GFI Partner Portal allows you to view the GFI Software keys registered to your end-users, the number of seats, and the validity of the Software Maintenance Agreement (SMA), if applicable for that key.
To manage end-user licenses:
- Login to the GFI Accounts Portal.
- Go to Manage > Licenses.
Manage license options
The GFI Accounts Portal offers administrator the option to search for a certain license key, what can be handy in case of a large number of licenses.
Using filters
The GFI Accounts Portal allows user to narrow down the search field using filters.
To add a filter:
- Click Filter.
- Define your filter using a combination of the options below:
| Section | Description |
|---|---|
| Settings | Customize the search based on particular settings. |
| Account | Use account details as a search criteria. |
| GFI Prime | Search based on the available vouchers for GFI Prime. |
| License settings | Use the type of license to narrow down the search. |
| License | Use the license status to restrict the search. |
| Product | Refine the search based on specific products. |
- Click Apply.
Use the x next to a filter option to remove it or click Clear filters to remove all filters.
Creating a new License
To obtain a new license:
- Expand Action and click New License.
- Select the options for the license:
| Options | Description |
|---|---|
| Select a product | Select one of the available products in the list. |
| Select a version | Select one of version available for the product select previously |
| Select a template | Select one of the templates available. Options may vary according to the product selected. |
- Click Next.
- Select a End User.
- Click Next and click Submit.
Exporting license details
GFI partners can export the details of this page to an Excel file that can be edited.
To export user details:
- Click Action > Export.
- Type in a title to be the file name under Title.
- Select one of the contacts linked to the account to receive the email with the file.
- Check Schedule this report to setup a schedule to automatically generate this file. The options available are:
| Option | Description |
|---|---|
| Daily | Select this option to receive the file every day. Specify the time the report should be generated. |
| Weekly | Select this option to receive the file once a week. Specify the day the file should be generated. |
| Monthly | Select this option to receive this file once a month. Specify which day and time the file should be generated. |
| End date | Select this option to set a date to stop receiving the file. Specify the day in the calendar to stop receiving the file. |
- Click Send.
An Excel file is sent as an attachment via email immediately or according to the schedule specified.