Manual Agent Installation
AgentsA GFI OneGuard component that runs as a background service on target devices and handles the deployment of patches, service packs and software updates. are usually installed automatically through auto-discovery. But, if auto-discovery is not working or is not able to find a certain machine, you can install the agentA GFI OneGuard component that runs as a background service on target devices and handles the deployment of patches, service packs and software updates. manually.
NOTE
Before performing the manual installation, ensure that there is network connectivity between the remote machine and the ControllerA GFI OneGuard component automatically discovers devices connected to the network, acting as a relay that channels communications between Agents and Platform..
Follow these steps to install the agent manually:
Step 1: Download the agent installer from the Platform

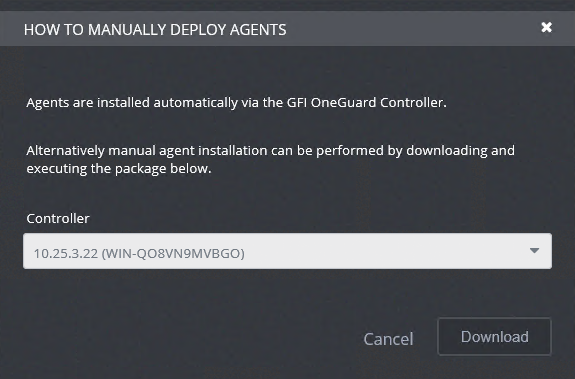
Screen to download the installer package
- Log in to the GFI OneGuard.
- Navigate to Manage > DevicesMachines connected to a network that have been discovered by GFI OneGuard..
- In the main pane, click on the
 icon.
icon. - In the next screen, select the Controller that the agent should communicate with and click Download.
- Save the AgentPackage.zip file.
The AgentPackage compressed folder contains two files:
| File | Description |
|---|---|
| Install.cmd | Batch file with the commands to run the MSI files and install the agent. |
| OneGuardAgent.msi | MSI file used by the batch file to install the agent. |
Step 2: Run the installer in the remote machine
- Log in to the remote machine with administrative credentials.
- Copy the AgentPackage.zip file from the platform, save it, and extract the contents.
- Run the Install.cmd command.
To confirm successful installation check that the new machine is now displayed on the PlatformThe main component of GFI OneGuard that connects all the services offered by the product and the database that stores all collected information. Server, under Manage > Devices in a group named Manually Installed.