Installing Kerio Control Hardware Box through MyKerio
This topic describes how to add Kerio Control Hardware Box to MyKerio and complete the registration process and basic configuration of the box.
The advantage of this process is that a technician can perform the installation remotely. A non-technical assistant located on-site can switch-on and connect the Hardware Box to the network, and the technician can then add the Hardware Box to MyKerio and manage it.
If you have the software or virtual appliance version of Kerio Control, you can add the appliance from the web administration interface. For more information refer to Adding Kerio Control to MyKerio.
 Prerequisites
To add Kerio Control Hardware Box to MyKerio, you need:
- the serial number on the bottom of your Kerio Control Hardware Box or from Kerio Online Store.
A serial number is a 12-digit number, for example
SRLNMR123456. For more information refer to Installing Kerio Control Hardware Box through MyKerio. - your Kerio Control Hardware Box connected to the internet.
- the local administrator's login credentials if your appliance is already set up locally.
 Adding Kerio Control Hardware Box to MyKerio
NOTE
Verify that the Hardware Box can reach MyKerio. If the Internet provider does not provide a DHCP server, the Kerio Control Hardware Box cannot obtain its IP address, so you must configure it manually.
For more information, see Configuring network interfaces.
Add a New Appliance
- Log in to MyKerio.
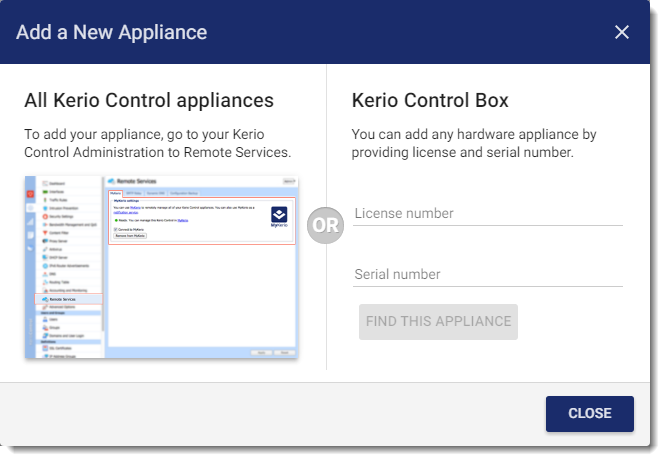
- In the Appliances section, click Add new appliance.
- In the Add a New Appliance dialog box, key-in the serial number of the appliance.
- Click Find this appliance.

Set up the Appliance
If your appliance is already set up locally:
- In the Set up the Appliance dialog box, verify the Kerio Control Hardware Box type and IP address, and key-in your local administrator's login credentials.
- Read and confirm Privacy Policy Terms and with End User License Agreement.
- Click Next.
If your appliance has not been set up locally:
- In the Set up the Appliance dialog box, verify the Kerio Control Hardware Box type and IP address, and configure your local administrator's login credentials.
- In the Administrator email field, key-in the administrator's email address. This can be changed later, if required.

- Optionally, select Allow Kerio Control to send anonymous usage statistics to Kerio Technologies. This information helps us to understand how organizations use our products so that we can decide how to best improve them. Statistics do not include any confidential data (passwords, email addresses, etc.), and you can disable this option at any time under Advanced Options > Updates.
- Click Next.
- Key-in your local administrator's login credentials for verification.
- Read and confirm Privacy Policy Terms and with End User License Agreement.
- Click Next.
Add the Appliance to MyKerio
- In the Add the Appliance to MyKerio dialog box, key-in a name for the appliance.
- If you have more than one organization, use the Organization drop-down list to assign the appliance correctly.
- Click Finish.
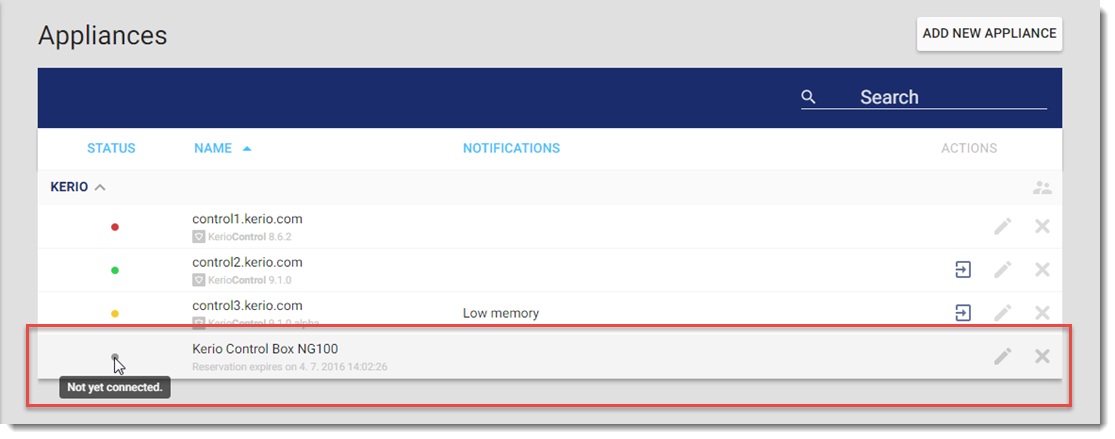
After you successfully connect the appliance you can see it in the Appliances section. Wait one or two minutes until the appliance is shown as Up (green).
